


Tramping Safety NZ — Essential Safety Guide for NZ Backcountry
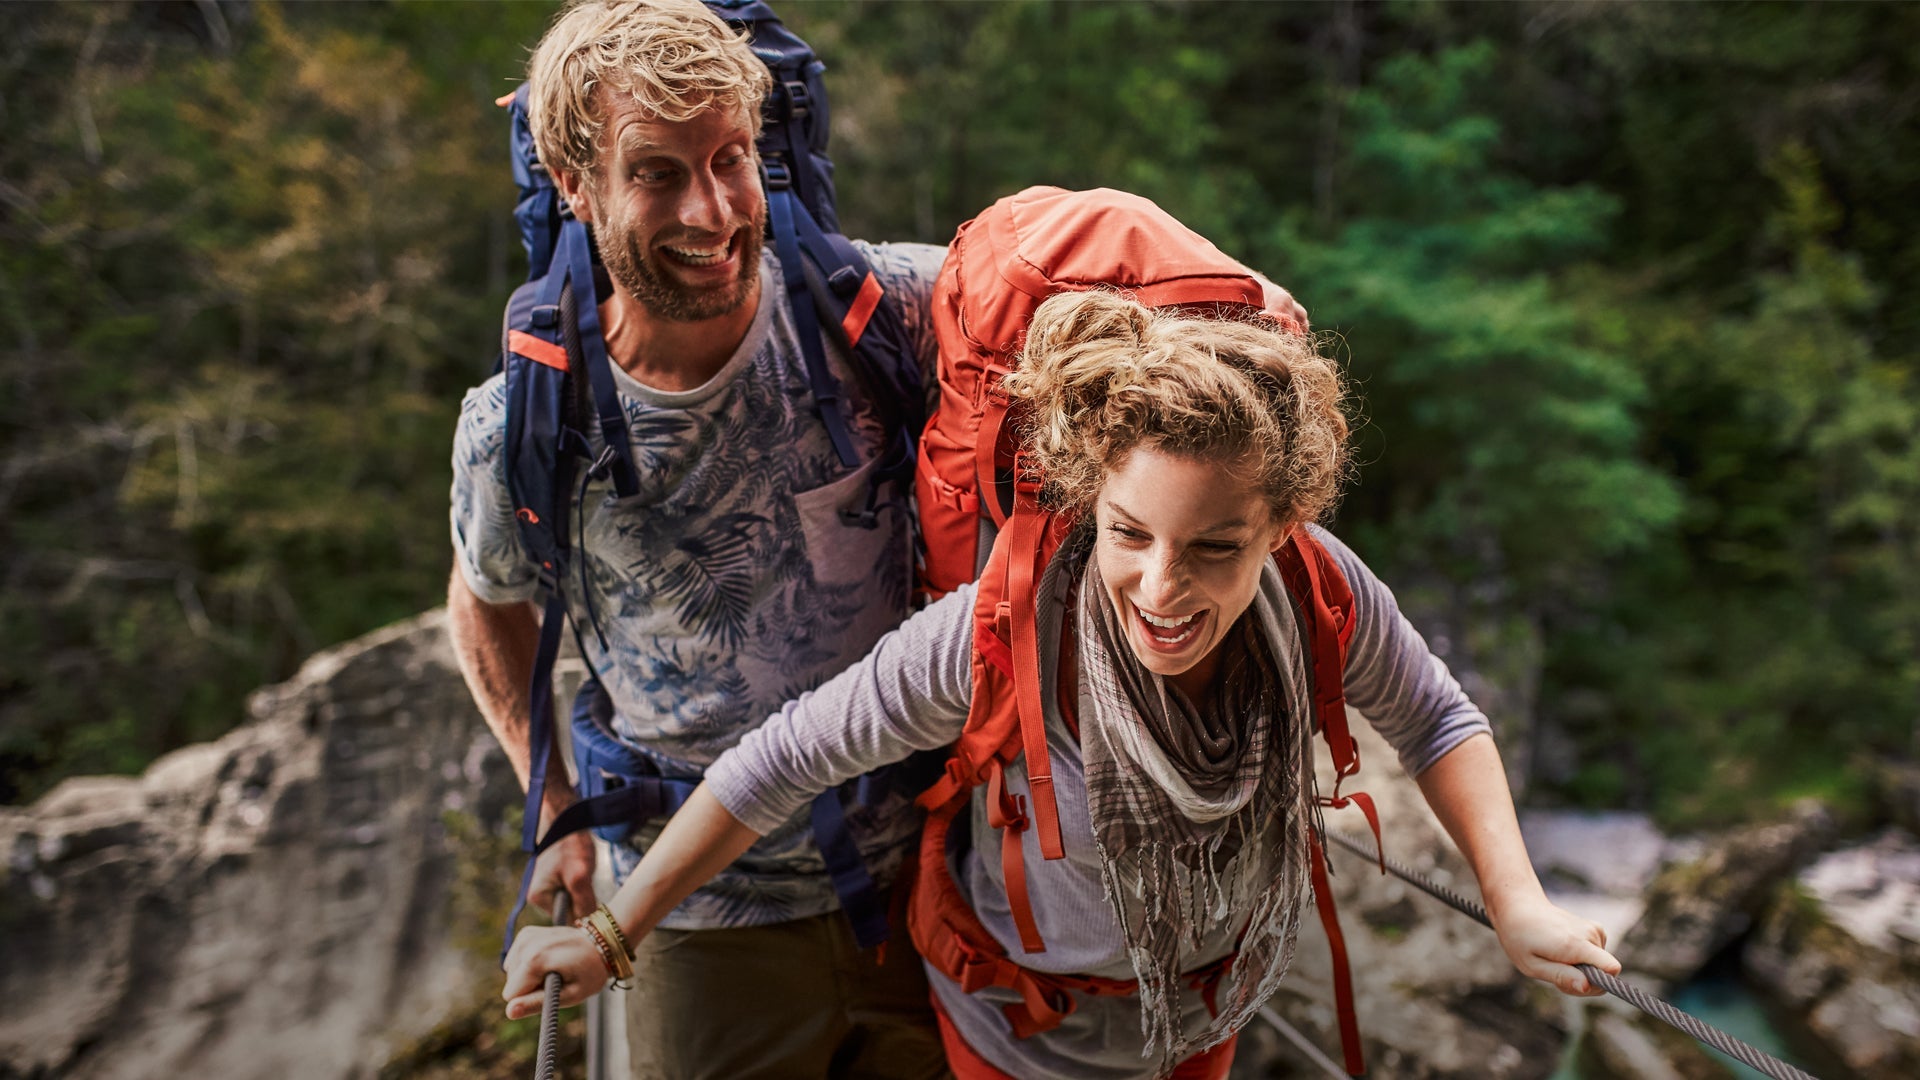
New Zealand's backcountry is genuinely extraordinary — and genuinely demanding. The same combination that makes our ranges, rivers, and coastlines so compelling — remote terrain, dramatic weather, rapidly changing conditions — also creates real risks for trampers who underestimate it. Every year, SAR (search and rescue) teams respond to incidents that were preventable with better preparation. This guide covers the fundamentals of tramping safely in the NZ backcountry: planning, gear, navigation, emergency signalling, and situational awareness.
Whether you're doing a Great Walk for the first time or heading into the Southern Alps on a multi-day route, these principles apply.
Understanding New Zealand's Backcountry
New Zealand's backcountry is not like the European or North American equivalents. A few things that set it apart:
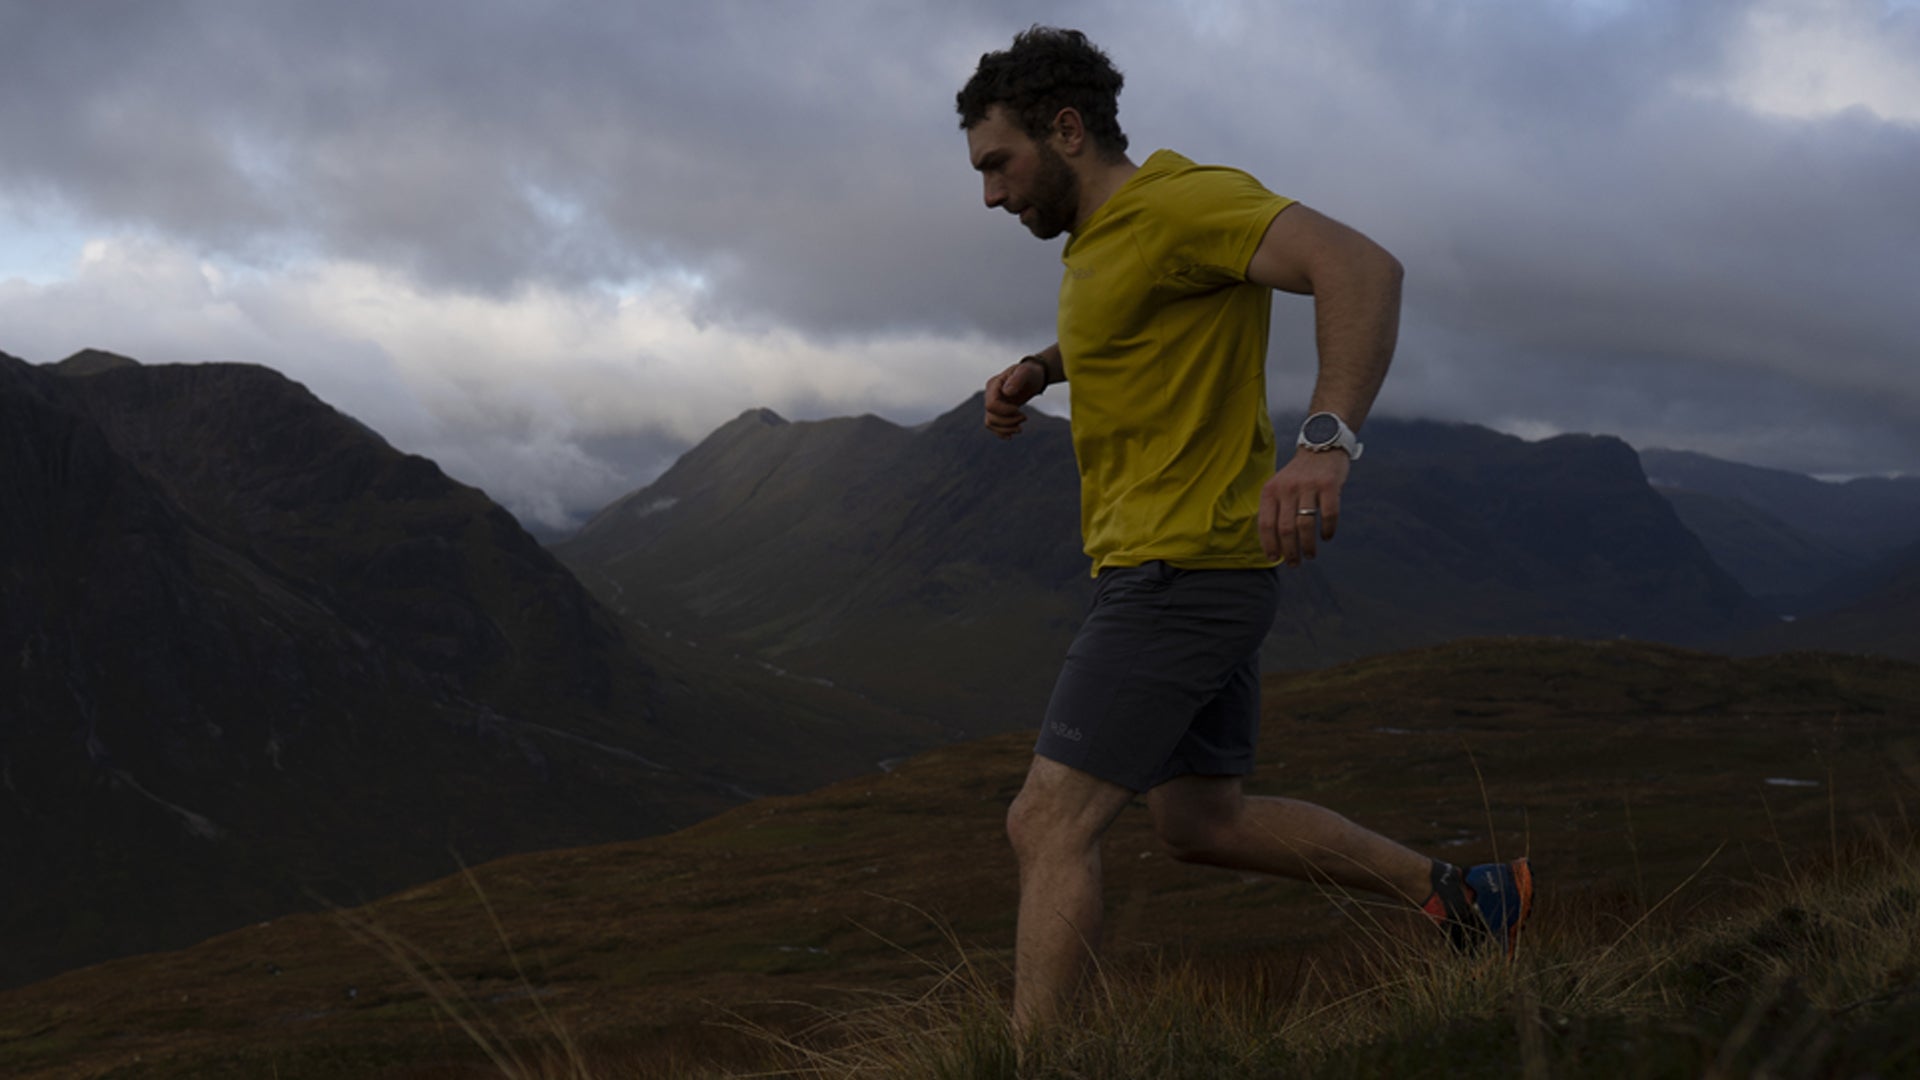
- Weather changes fast. A clear morning can become a full storm by afternoon. The Tasman Sea drives weather systems across the South Island with remarkable speed. Forecasts are useful but not guarantees.
- Terrain is technical. Even "easy" NZ tracks can include unbridged river crossings, exposed ridgelines, and loose rock. Trip grades on DOC's website are a starting point, not a ceiling.
- Remoteness is real. Many NZ backcountry routes are hours or days from the nearest road. If something goes wrong, help is not close. Self-reliance matters.
- Cell coverage is limited. Don't plan your emergency comms around your mobile phone. Coverage drops fast once you leave the trailhead area.
Trip Planning — The Most Important Safety Step
File Your Intentions
Before every backcountry trip, file a trip intention — who you are, where you're going, what route you're taking, when you expect to return, and who to contact if you don't check in. The AdventureSmart NZ website (adventuresmart.org.nz) makes this straightforward. Give your trip intention to a responsible contact who knows to call 111 and ask for Police if you're overdue.
This single step is the most impactful thing you can do for your safety. It means if something goes wrong, rescuers know where to look.
Check the Forecast — And Understand It
MetService (metservice.com) provides mountain forecasts for key NZ ranges. Check them the day before and the morning of your departure. Understand what the wind, rain, and temperature figures mean for your specific route — a 60km/h ridge-level wind is a very different experience from a 60km/h valley forecast. When in doubt, delay or alter your route.
Check DOC Conditions
DOC (Department of Conservation) updates track conditions, hut bookings, and closures on their website (doc.govt.nz). Bridges wash out. Tracks close for safety reasons. Huts fill up. Check before you go, not when you arrive.
Know Your Limits — And Your Party's
Trip grade is only one dimension. Consider your party's fitness, experience, and gear. A moderate track in good conditions becomes a serious undertaking for an underprepared group in bad weather. Be honest about what your team can handle, and have a turnaround plan before you set out.
Essential Safety Gear
The following gear covers the fundamentals for NZ backcountry. This isn't a comprehensive packing list — it's the safety-critical layer:
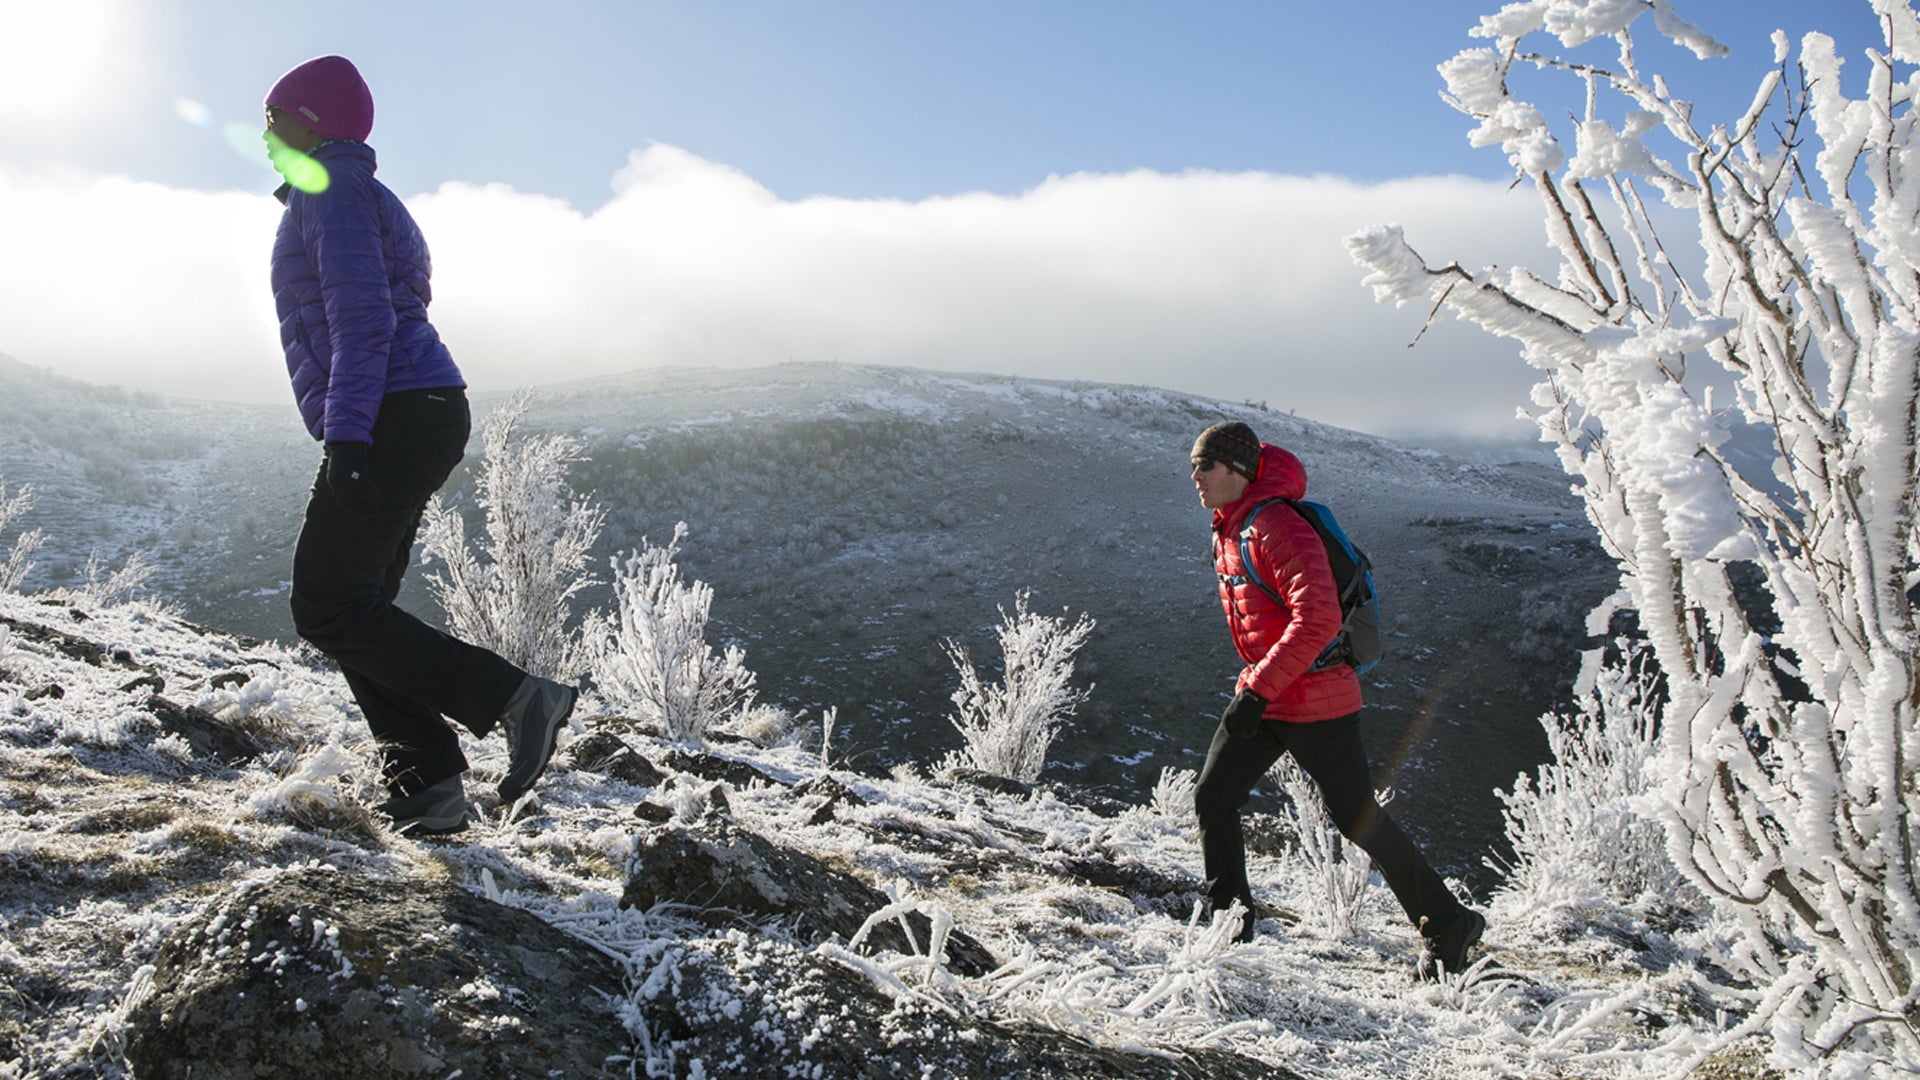
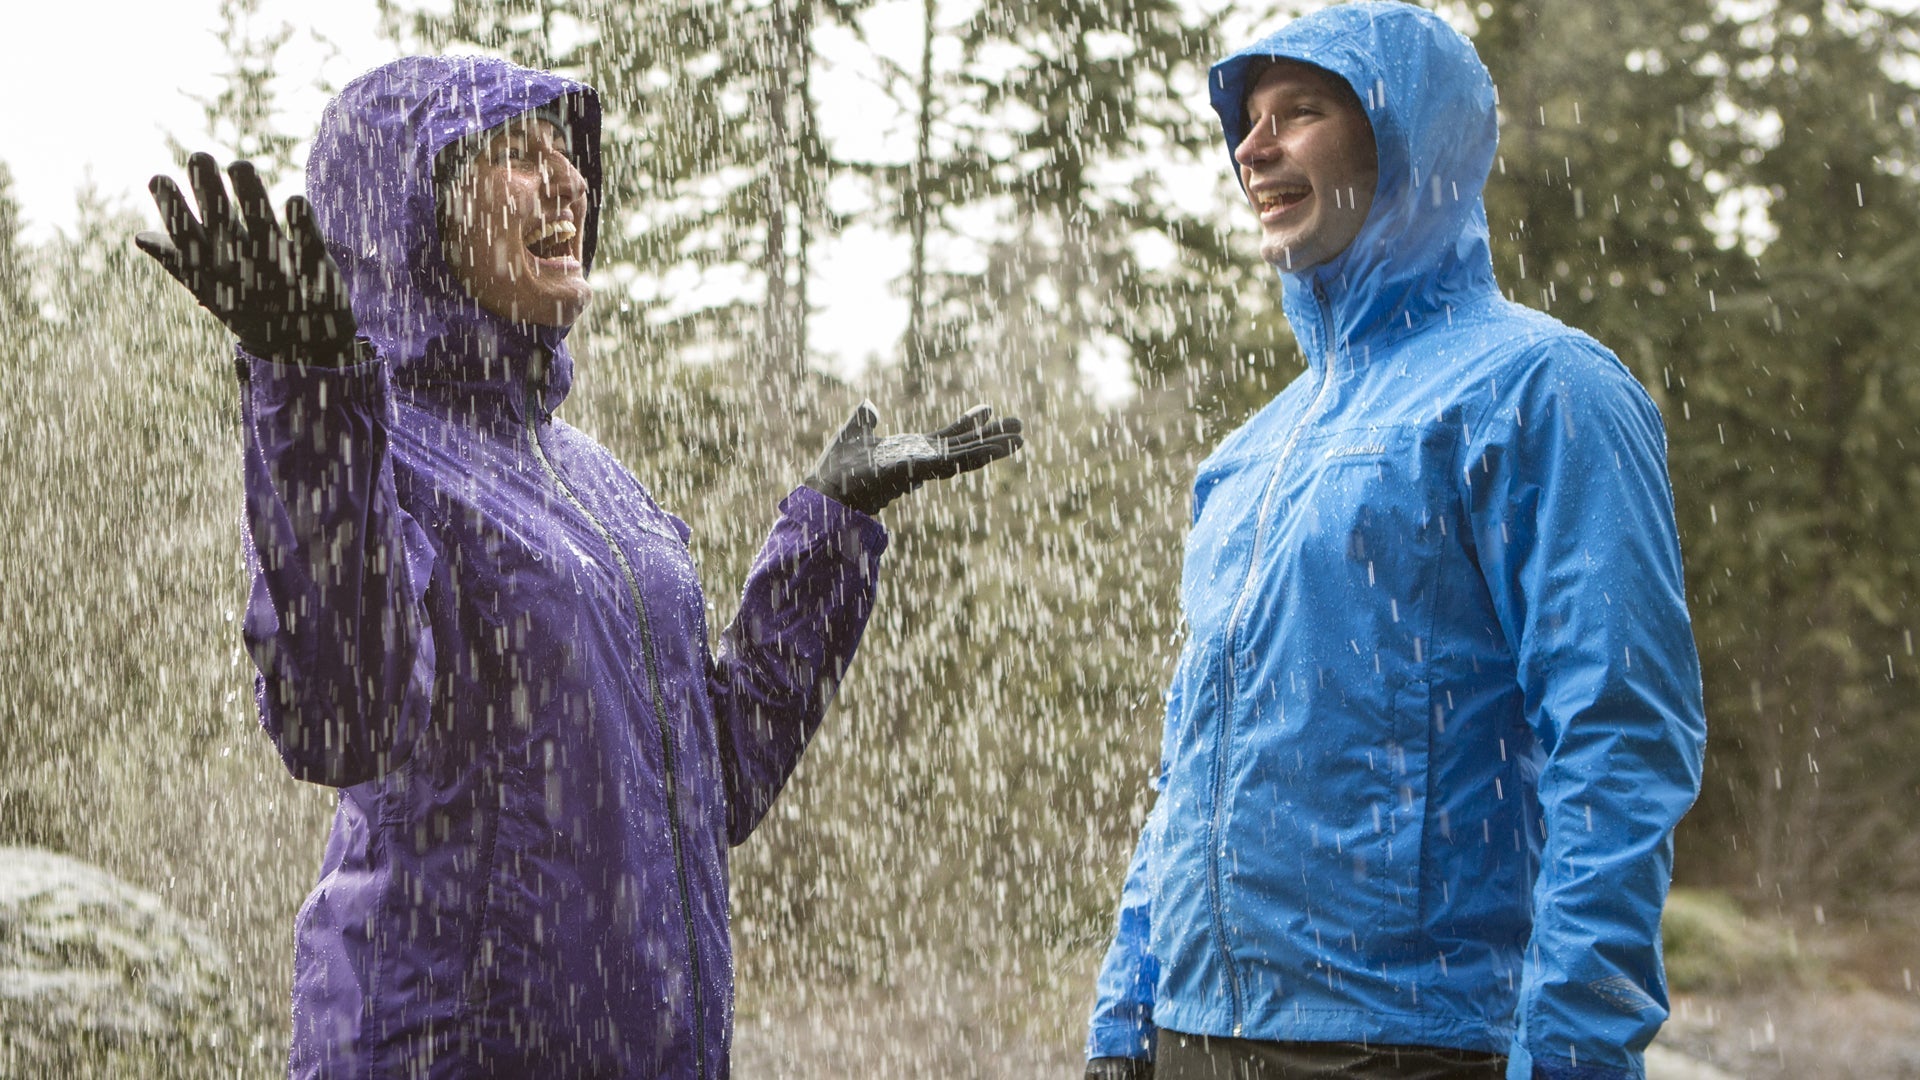
Rain and Wind Protection
A waterproof, windproof rain jacket is non-negotiable for NZ tramping. Hypothermia is a genuine risk in NZ's mountains — and it doesn't require extreme cold, just wet and wind. Jackets like the Peak XV Tornado and Peak XV Pinnacle provide reliable waterproof protection that keeps you functioning in bad weather. Browse our full rain jackets range for options at different price points.
Sleeping Warm
An appropriate sleeping bag keeps you alive in emergency bivvy situations and ensures recovery after a wet, cold day on the hill. Don't underrate for NZ conditions — see our sleeping bags range for options covering everything from Great Walks to winter alpine. One Planet bags are a solid choice for most NZ tramping.
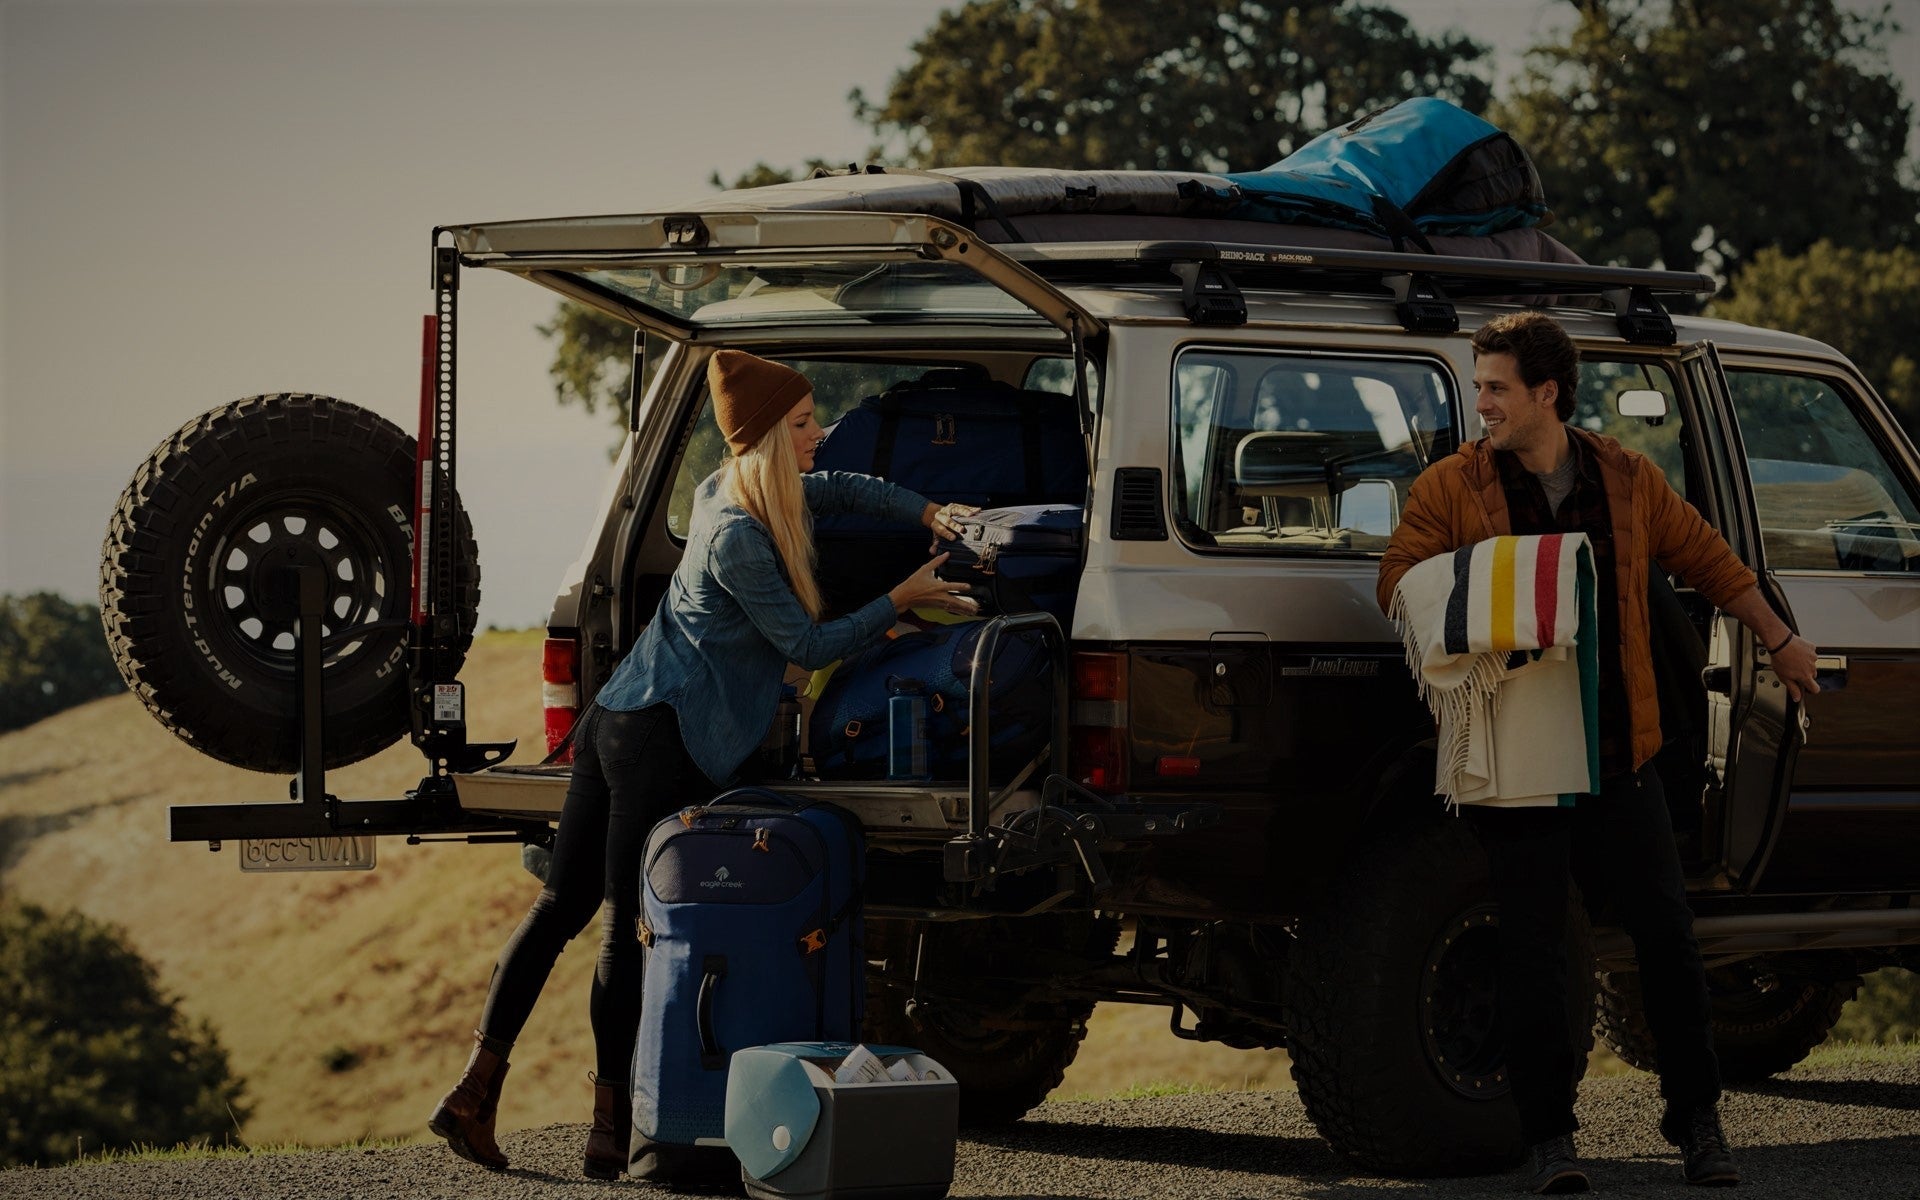
Pack and Load Carrying
A well-fitted, load-bearing pack reduces fatigue and injury risk — especially knee and back strain on long days. Deuter packs are our lead recommendation for multi-day tramping: they're well-built, carry heavy loads efficiently, and last well in NZ conditions. See our hiking packs range.
Navigation Tools
Carry a topographic map and compass — and know how to use them. Digital tools (Topo Maps NZ app, GPS devices) are excellent supplements but rely on battery and can fail. A physical topo map and a compass work without power. Practice taking bearings and identifying terrain features before you need to use these skills under pressure.
First Aid Kit
Carry a basic wilderness first aid kit including blister treatment (the number one tramping injury), wound care, pain relief, and any personal medications. A first aid course specifically covering wilderness scenarios is worth doing — standard first aid training doesn't cover the decisions you face hours from help.
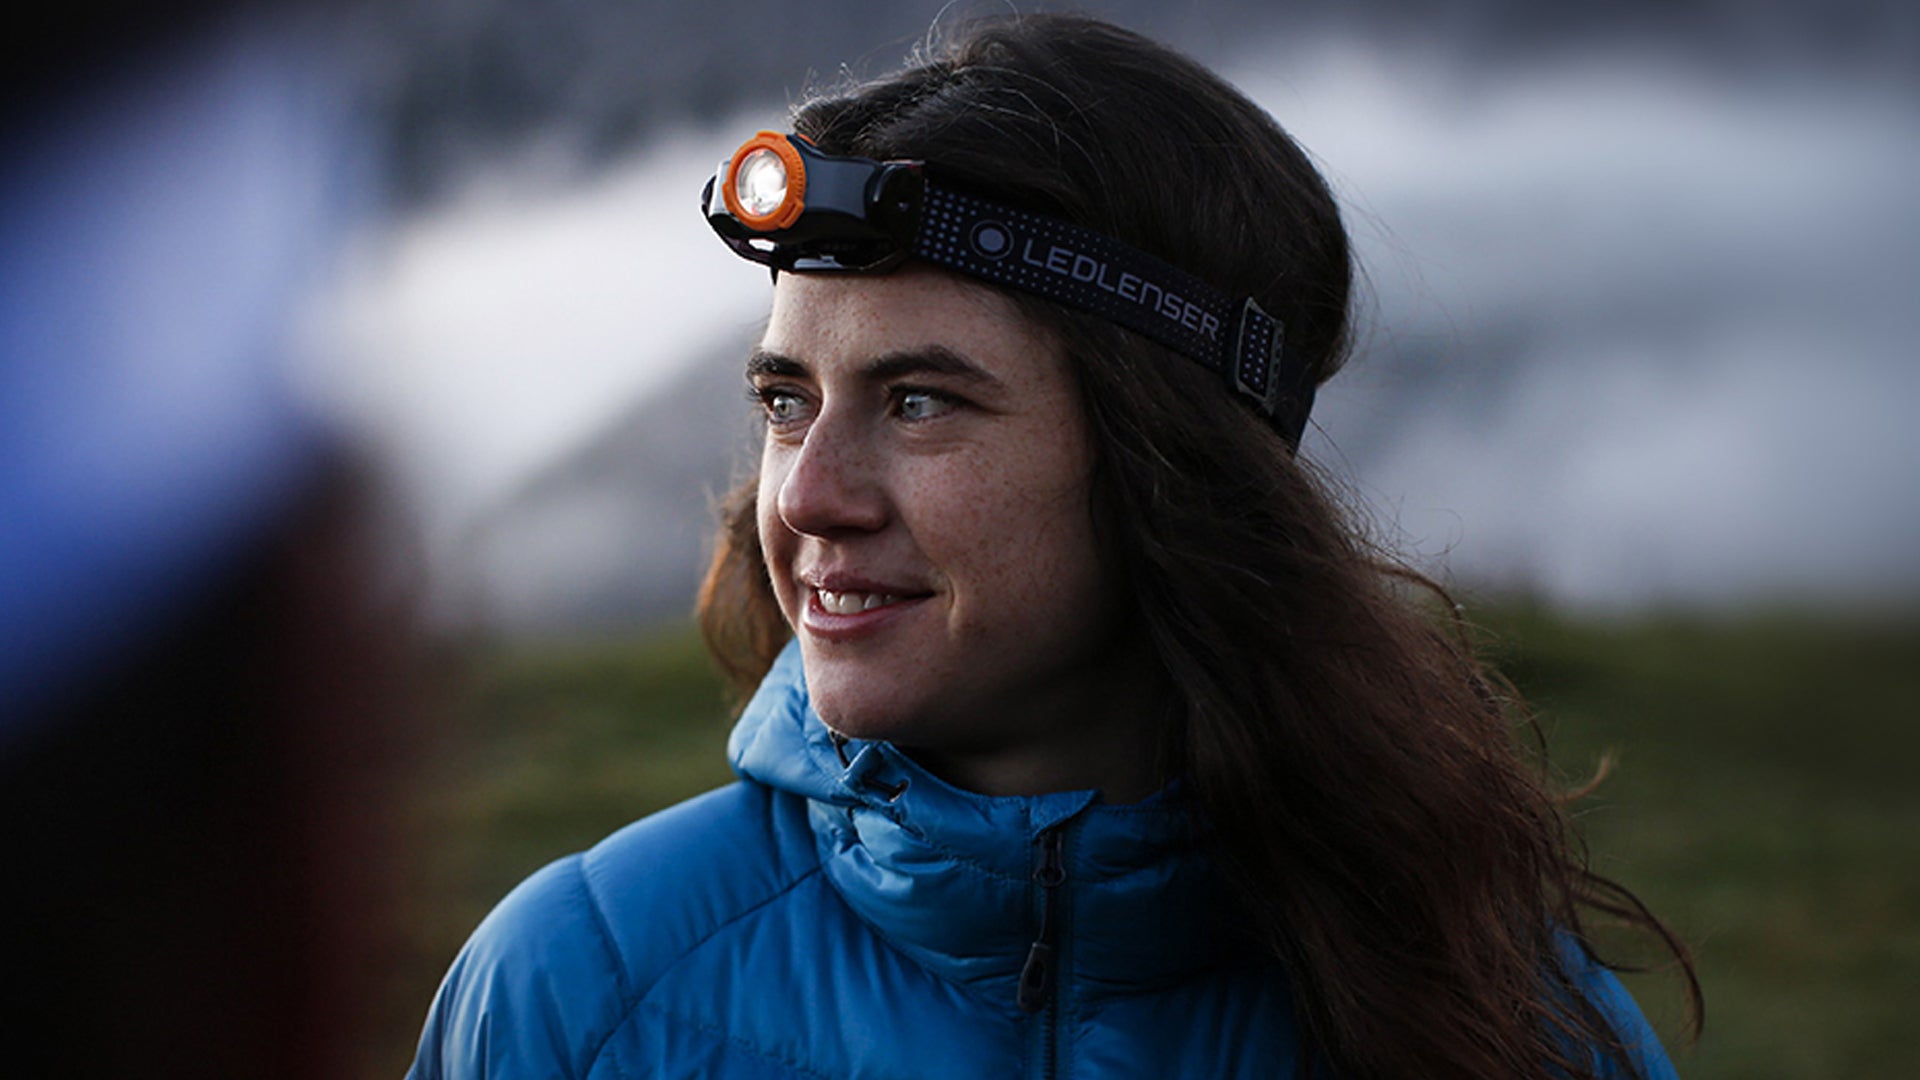
Headtorch
Always. Even on a day walk. Dark comes fast in NZ's forested ranges, and an unexpected delay can have you finishing a track in darkness. Spare batteries or a rechargeable model matter.
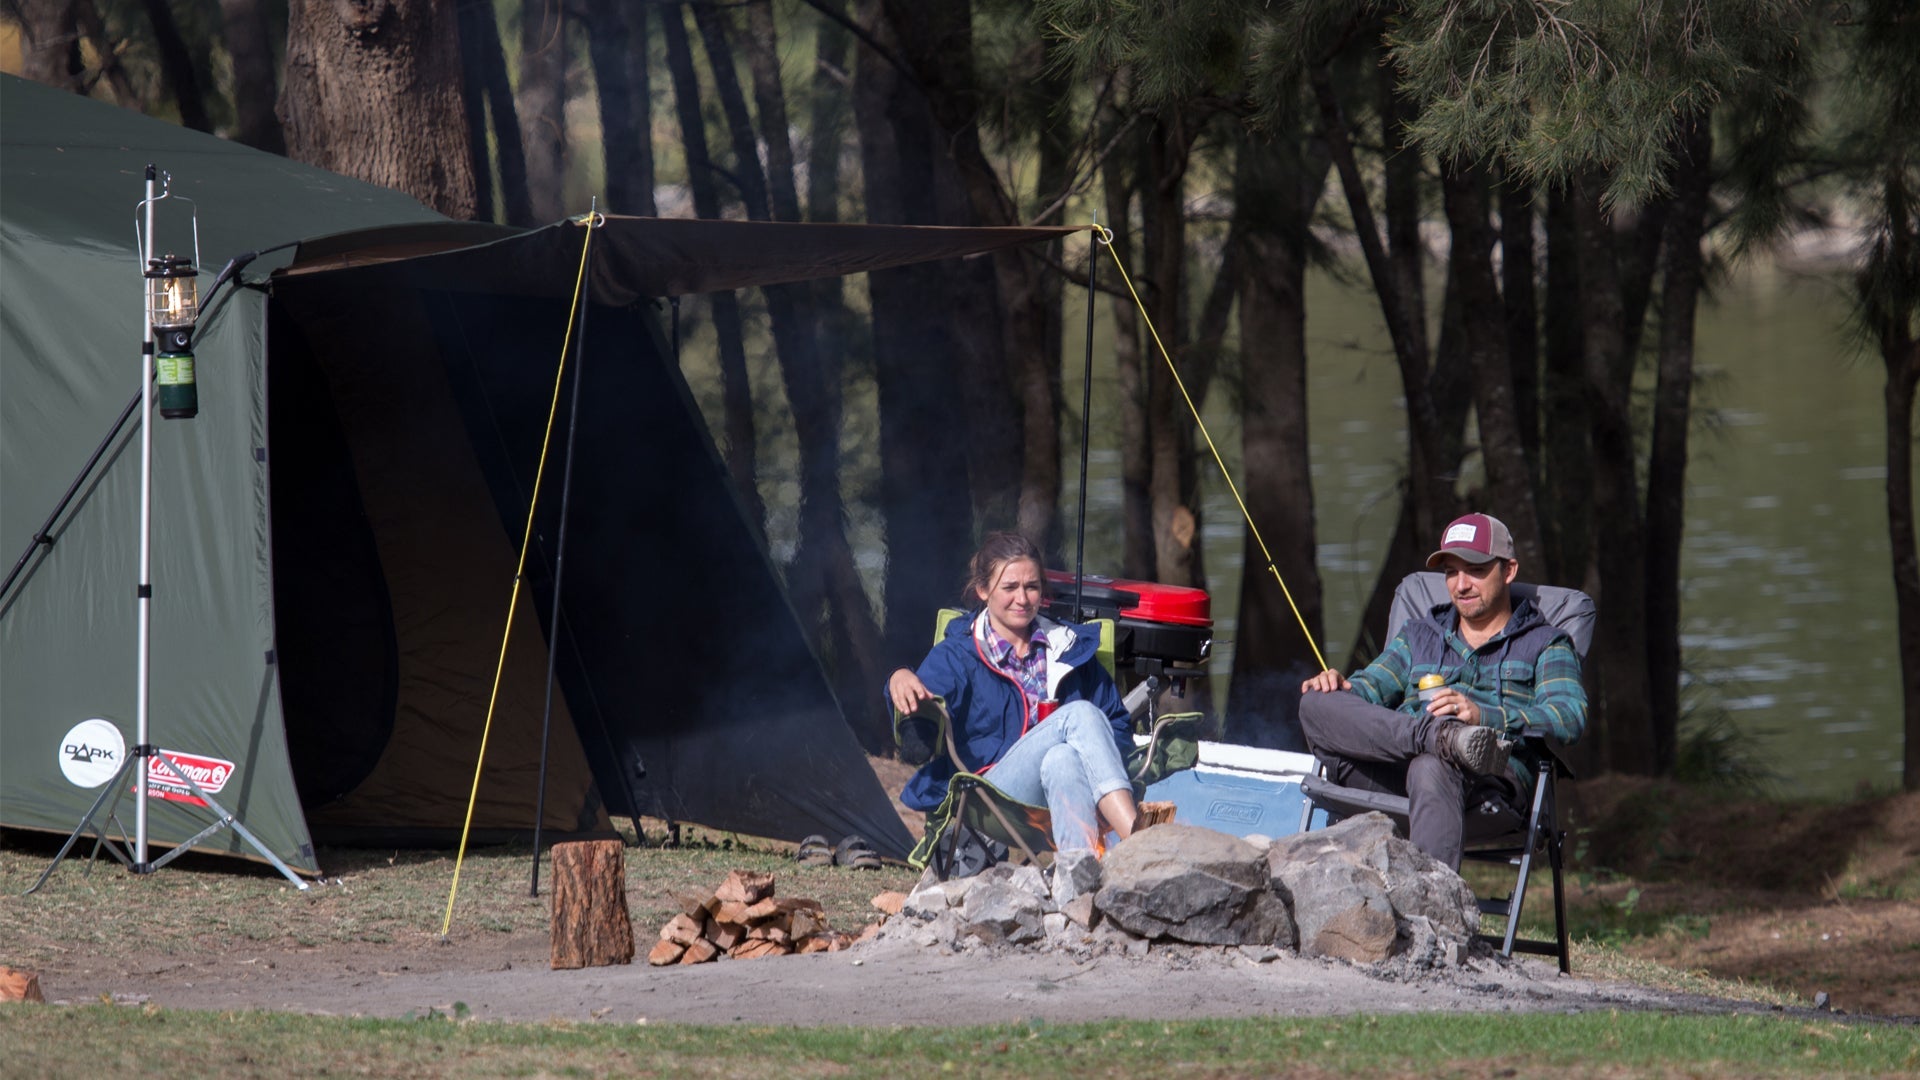
Emergency Shelter
A lightweight emergency bivvy bag weighs almost nothing and can be life-saving if you're injured, stranded, or caught by weather. It's the insurance policy you'll never regret packing.
Emergency Signalling — PLBs Save Lives
A Personal Locator Beacon (PLB) is the most important emergency signalling tool available to NZ trampers. When activated, a PLB sends a distress signal via satellite to the Rescue Coordination Centre New Zealand (RCCNZ), which coordinates the response. PLBs work everywhere — there's no cell coverage requirement, no subscription fee, and no ongoing cost after purchase.
The Ocean Signal RescueMe PLB1 is our lead recommendation. It's compact, lightweight, waterproof to IP67, and meets all international COSPAS-SARSAT standards for search and rescue satellite systems. It activates with a single motion and has a battery life that meets PLB standards — kept registered with MSAR (Maritime New Zealand) and tested periodically, it's ready when you need it.
Register your PLB with Maritime New Zealand (maritimenz.govt.nz/plb) — this links your beacon to your personal details and significantly speeds up the rescue response. Registration is free and takes minutes.
A PLB is not a substitute for good planning — it's the last resort when everything else has gone wrong. But in NZ's remote backcountry, having that last resort available is often what separates a bad day from a tragedy.
Navigation in NZ Backcountry
Navigation in NZ's backcountry is not always straightforward. Tracks can be marked inconsistently, mist eliminates landmarks, and in bush, visibility is limited. A few fundamentals:
- Study your topo map before you go — know the shape of the terrain, the direction of ridges and rivers, and the key landmarks.
- Take note of your bearing and track at regular intervals, not just when you think you might be lost.
- In mist or featureless terrain, use compass bearings and time/distance estimates to stay on track.
- In NZ bush, following a spur uphill is usually the right instinct if you're lost — spurs lead to ridges, ridges lead to huts and tracks.
- Digital apps like Topo Maps NZ (Land Information NZ data) show the same topo detail as paper maps and allow GPS position — extremely useful, but keep the device charged and consider a portable battery.
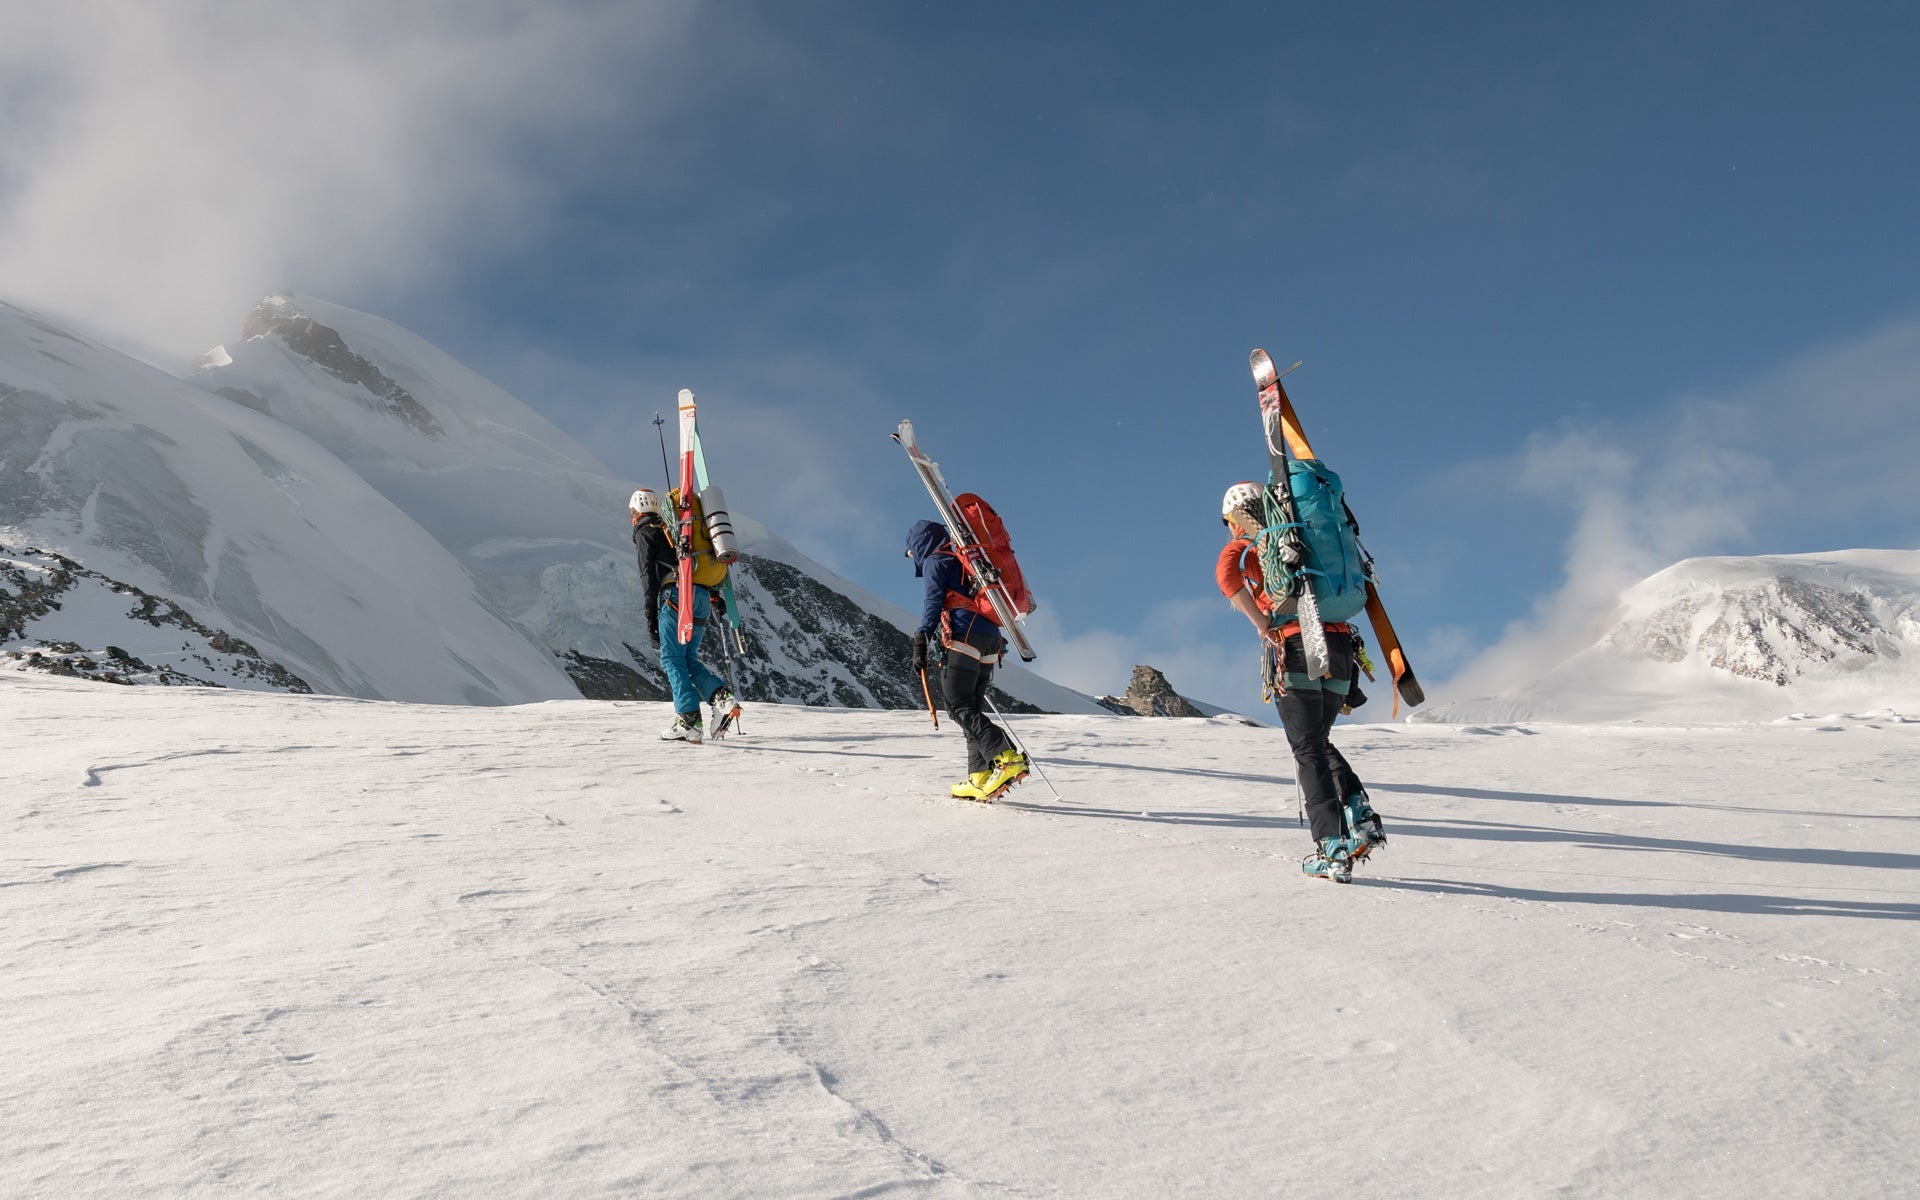
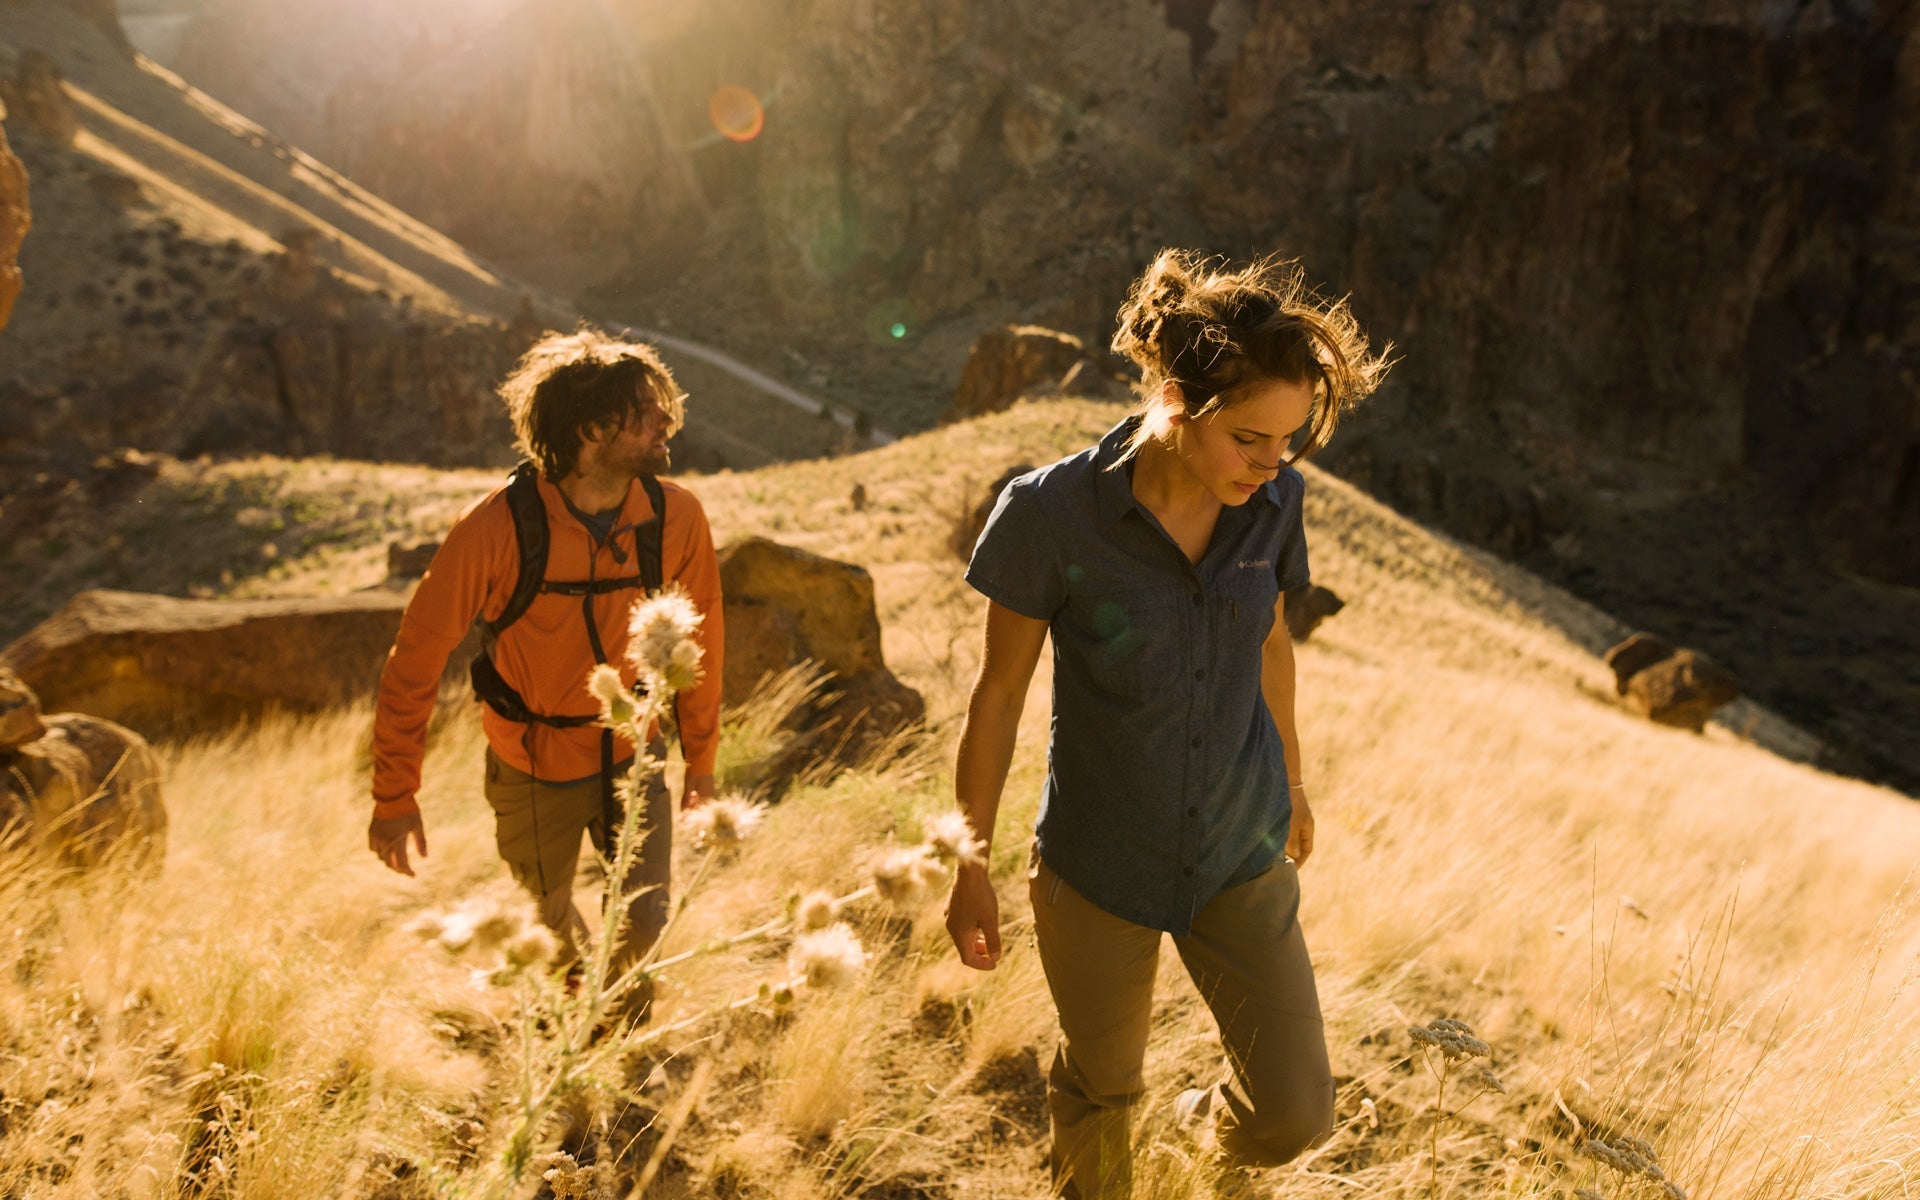
Weather Awareness on the Trail
The forecast is a model. The mountain is reality. Learn to read the sky:
- Lenticular clouds on summits signal high winds aloft — often a precursor to deteriorating weather.
- Rapidly lowering cloud base means rain is imminent — get your rain jacket on before you need it.
- In NZ, northwest airflow typically brings warm, moist air from the Tasman — cloud and rain follow quickly. Southwest airflow brings cold, clear conditions that can bring rapid temperature drops.
- If weather is deteriorating faster than forecast, act early — turn back, seek shelter, or move to lower ground. Don't wait for it to get worse before making the call.
River Crossings
River crossings are one of the leading causes of tramping fatalities in New Zealand. Rivers here rise with extraordinary speed after rain — a crossable river in the morning can become dangerous within hours. Key rules:
- Never cross a river in flood. Wait it out. Rivers that rise quickly also drop quickly — a few hours of patience can save your life.
- Undo your pack hip belt and sternum strap before crossing — if you fall, you need to shed the pack quickly.
- Use a pole or stick for stability, or cross with a partner in a line facing upstream.
- Choose your crossing point carefully — look for shallow, wide sections with a good exit point on the far bank.
- If in doubt, don't cross. There is no NZ backcountry destination worth dying for.
Conclusion
Tramping safely in New Zealand is mostly a matter of preparation, awareness, and respect for the environment you're entering. File your intentions. Check the forecast. Carry the right gear — waterproof jacket, warm sleeping bag, reliable pack, and a PLB. Know how to navigate. Be willing to turn back.
The backcountry doesn't forgive overconfidence, but it rewards those who approach it with honesty and preparation. Do the groundwork before you go, and the hills will deliver exactly what you came for.
Explore our range of rain jackets, sleeping bags, and hiking packs to gear up for your next NZ backcountry trip.
