


Solo Tramping NZ — Safety Guide and Essential Gear for Going Alone
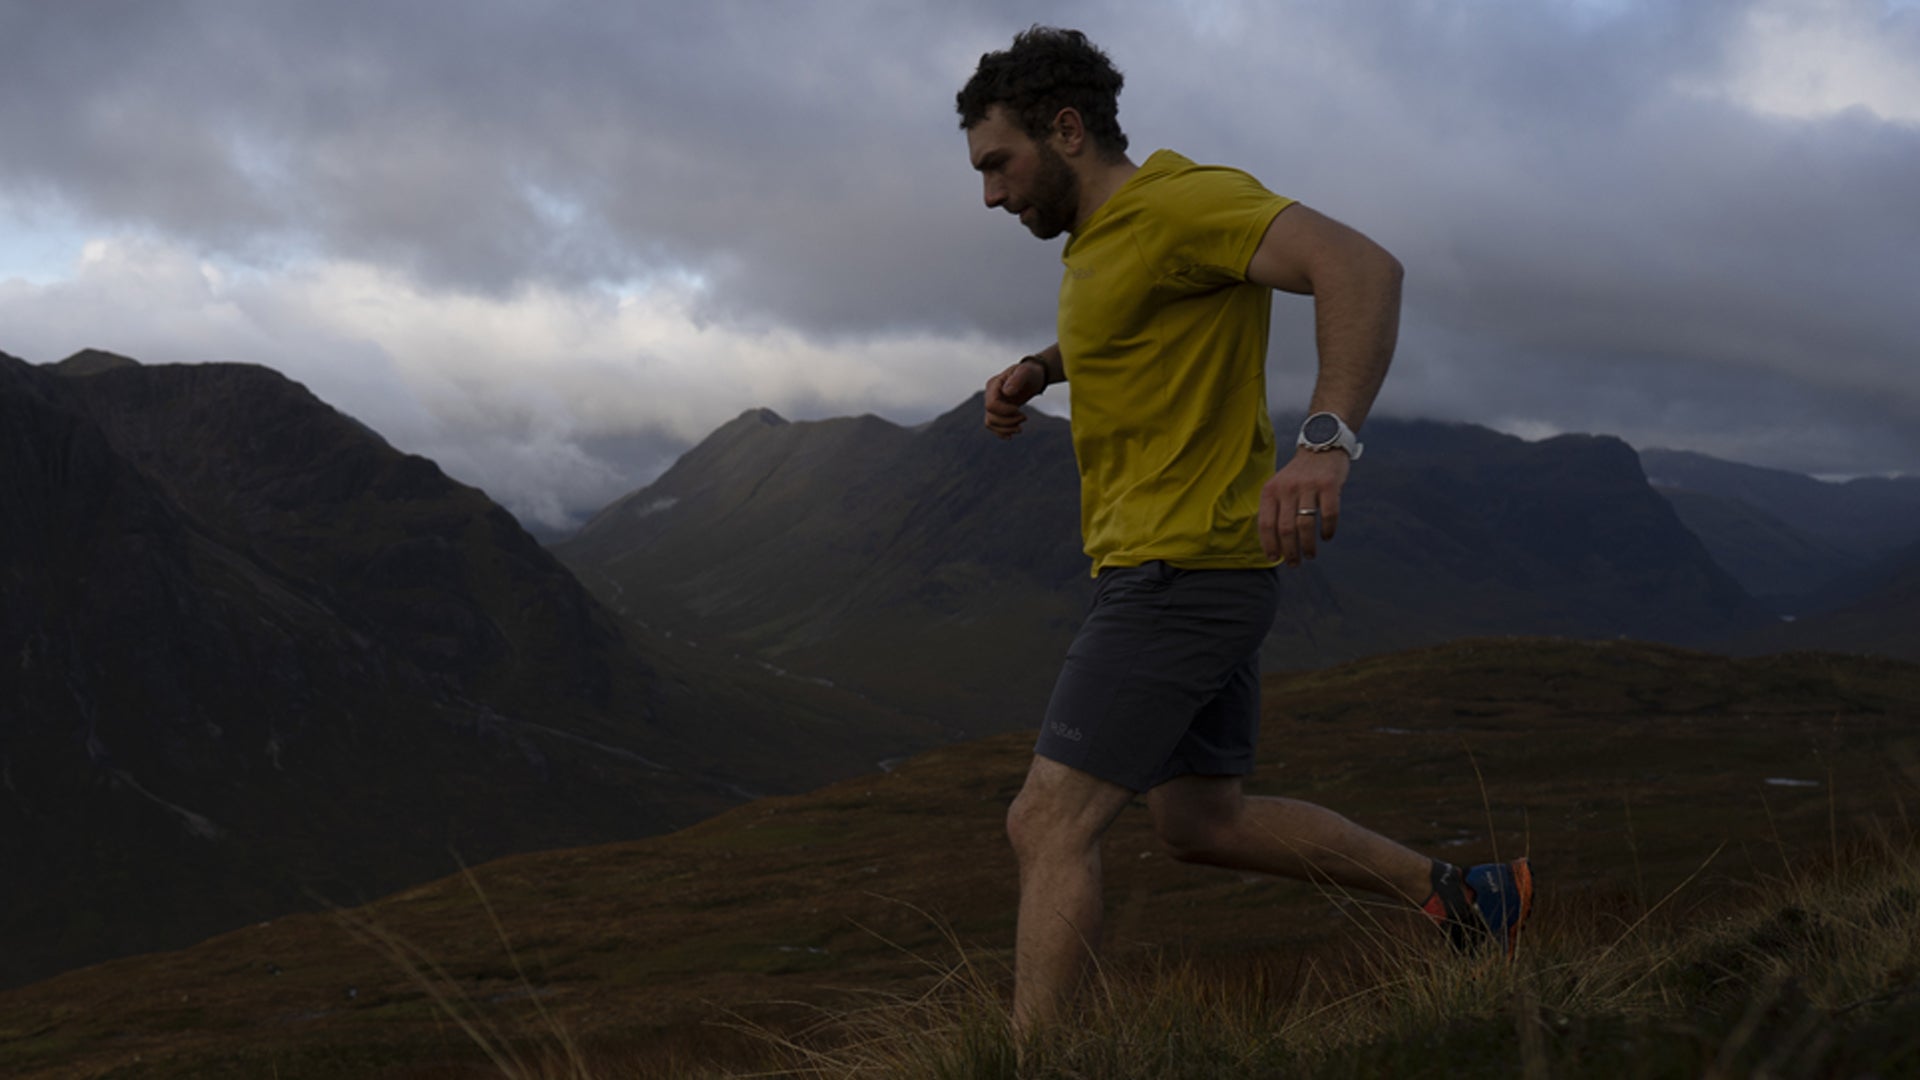
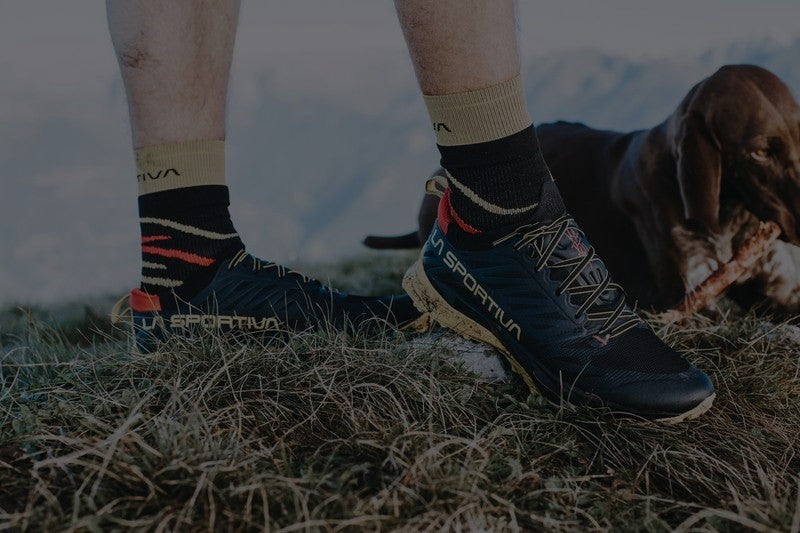
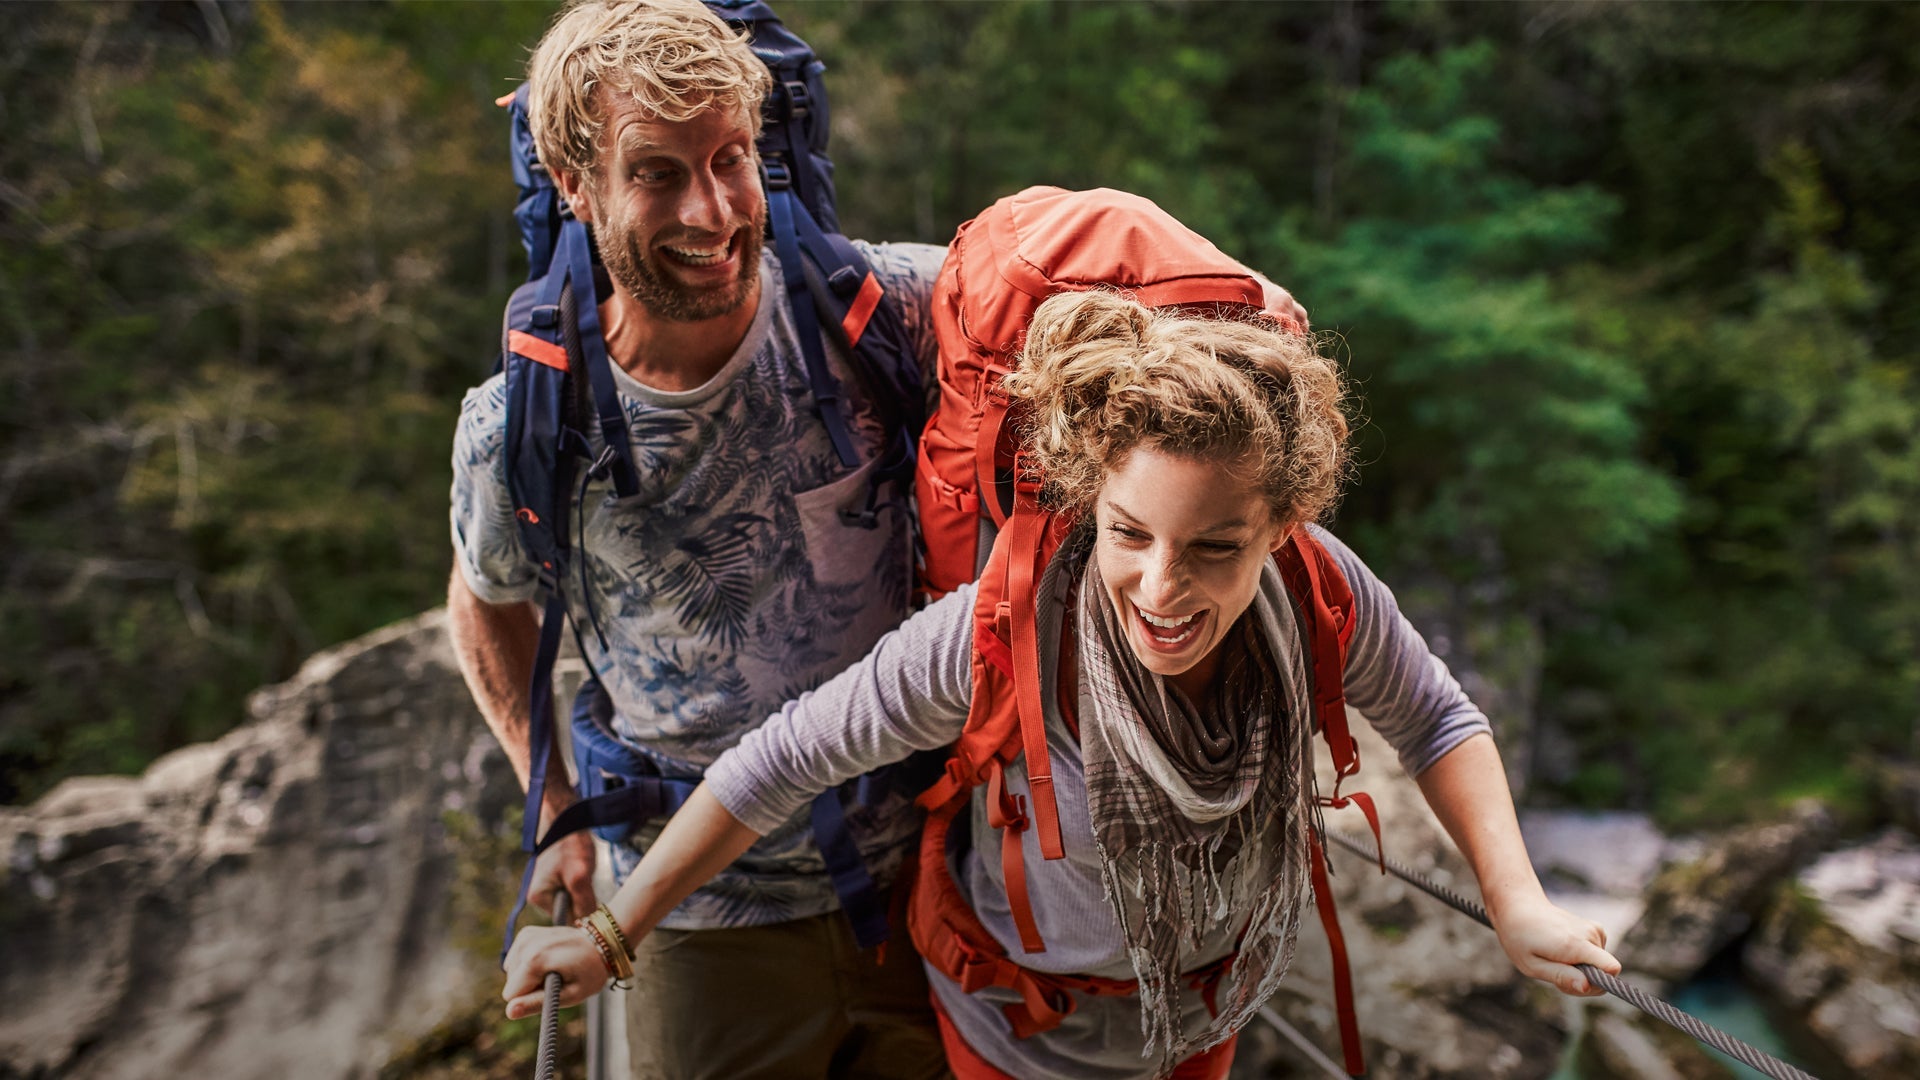
More New Zealanders are heading into the back-country alone. It's a legitimate and rewarding way to experience the outdoors — complete control over pace, route, and schedule, uninterrupted time to think, and a particular kind of self-reliance that group trips don't offer. But solo tramping carries risks that group travel mitigates naturally. When something goes wrong — a twisted ankle on a remote track, unexpected weather, a wrong turn in poor visibility — there's no one else there.
That doesn't mean solo tramping is reckless. It means it requires preparation that group trampers can sometimes afford to skip. This guide covers the planning, gear, and mindset that make solo tramping in NZ genuinely safe — not just probably fine.
Planning Your Solo Trip
Leave Your Intentions
This is the most important safety step for any solo tramper, and the one most often skipped. Before you leave, tell someone specific — not just a vague "I'm going tramping" — exactly where you're going, your planned route, the huts you intend to stay at, and when they should call Search and Rescue if they haven't heard from you.
DOC's Intentions system allows you to file your trip plan online. This is strongly recommended for any back-country trip, and essential for solo travel. If something happens to you, your filed intentions significantly accelerate rescue response.
Check the Weather
NZ's mountain weather is fast-moving and localised. A fine morning in Queenstown or Nelson doesn't predict what's happening at 1,500m on the Main Divide. Check MetService mountain forecasts for your specific area, not just the regional summary. Build in buffer days for weather holds, especially in winter or on technical routes. Solo trampers have less margin for error when weather turns — there's no group consensus to pull back on a go/no-go decision, which means you need that instinct to be more developed, not less.
Know Your Route and DOC Resources
Read the DOC track notes thoroughly before you leave. Understand the technical sections, the likely river crossings, and the hut locations relative to your pace. DOC hut wardens are a valuable resource on track — introduce yourself, ask about conditions ahead. Solo trampers who engage with hut communities are better informed and have people who'll notice if they don't check in.
Essential Safety Gear for Solo Tramping
Personal Locator Beacon — Non-Negotiable
A PLB is the single most important piece of gear for solo tramping. When activated, it sends a distress signal to international search and rescue satellites, providing your GPS coordinates to New Zealand Rescue Coordination Centre. This is your emergency lifeline when mobile coverage doesn't exist — which is most of NZ's back-country.
The Ocean Signal RescueMe PLB1 is the benchmark PLB for NZ trampers. It's compact, waterproof to IPX6, and uses GPS to provide accurate position data. Register it with the New Zealand Maritime Operations Centre before your trip — registration is free and mandatory.
Carry it on your person, not in your pack. If you're separated from your pack — a river crossing gone wrong, a fall — you need the PLB on your body. A chest harness or dedicated PLB pouch on your pack's hip belt are both reliable options.
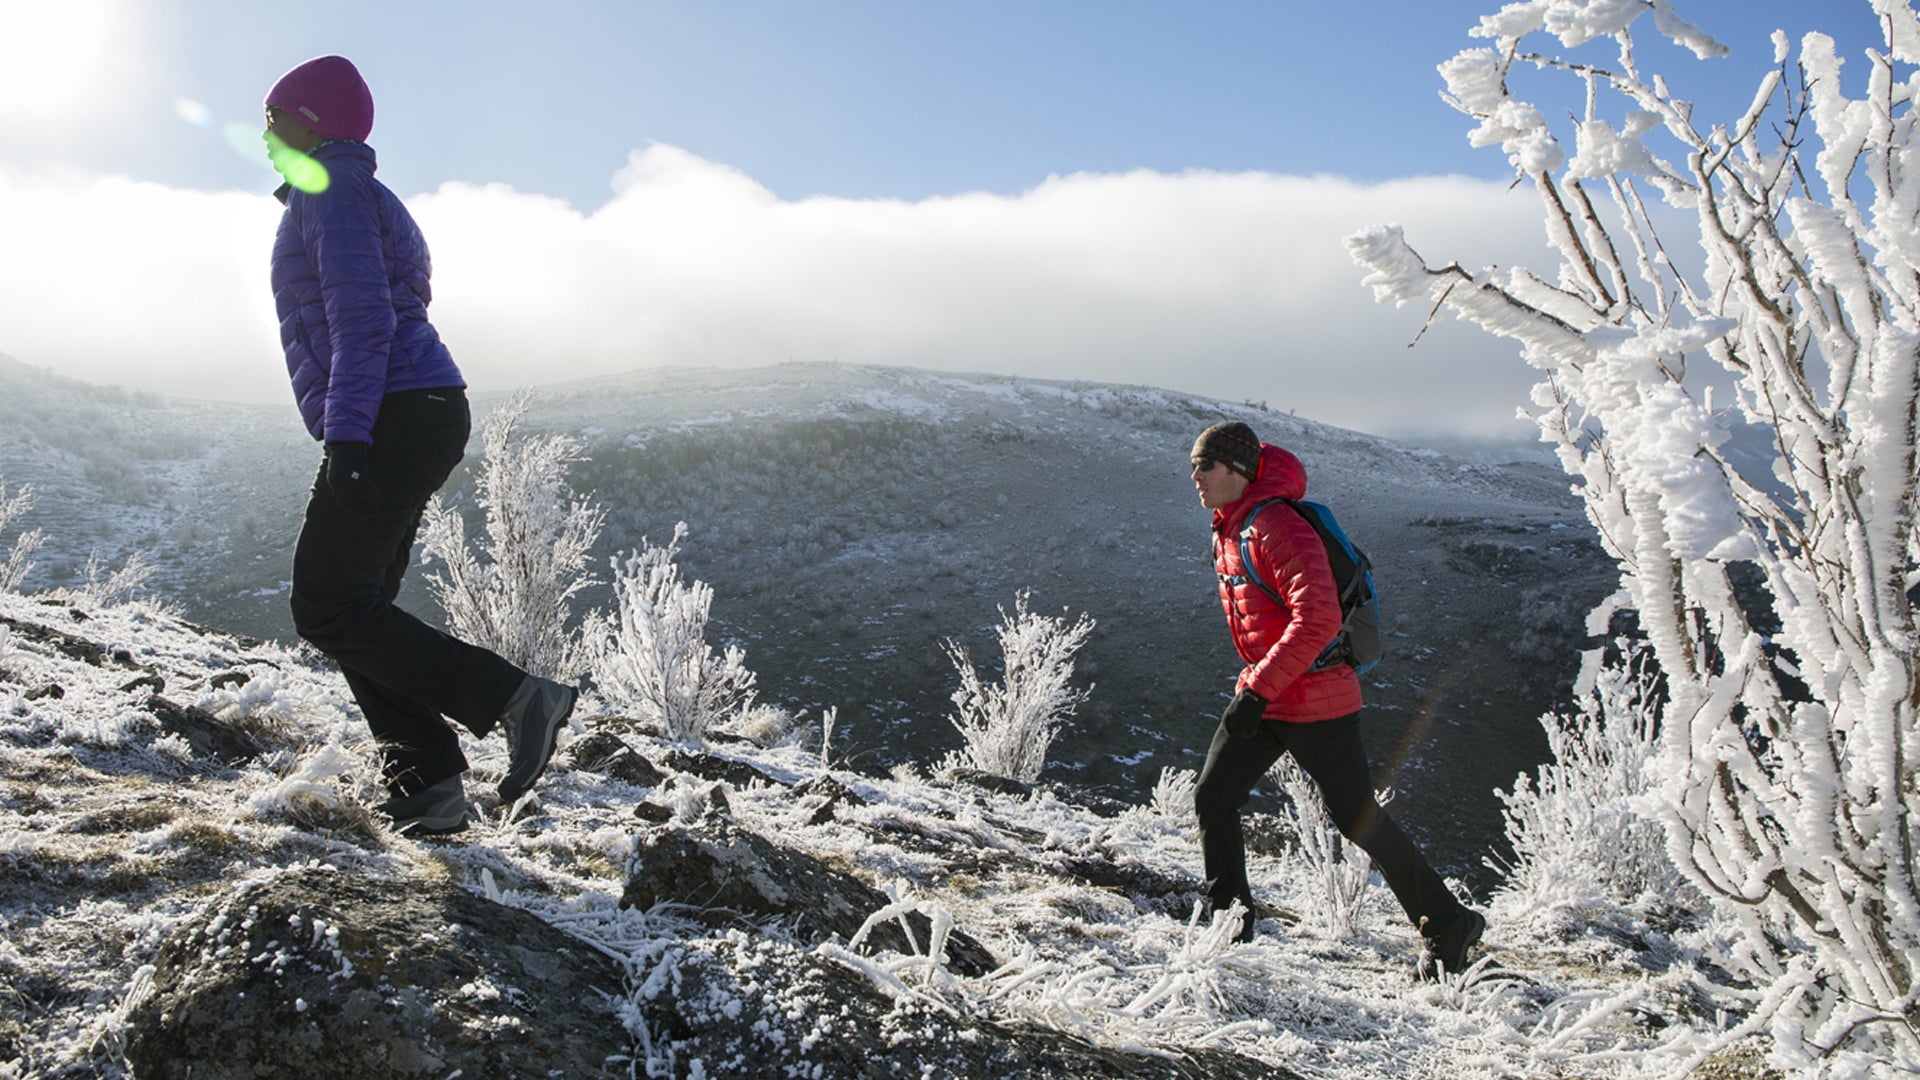
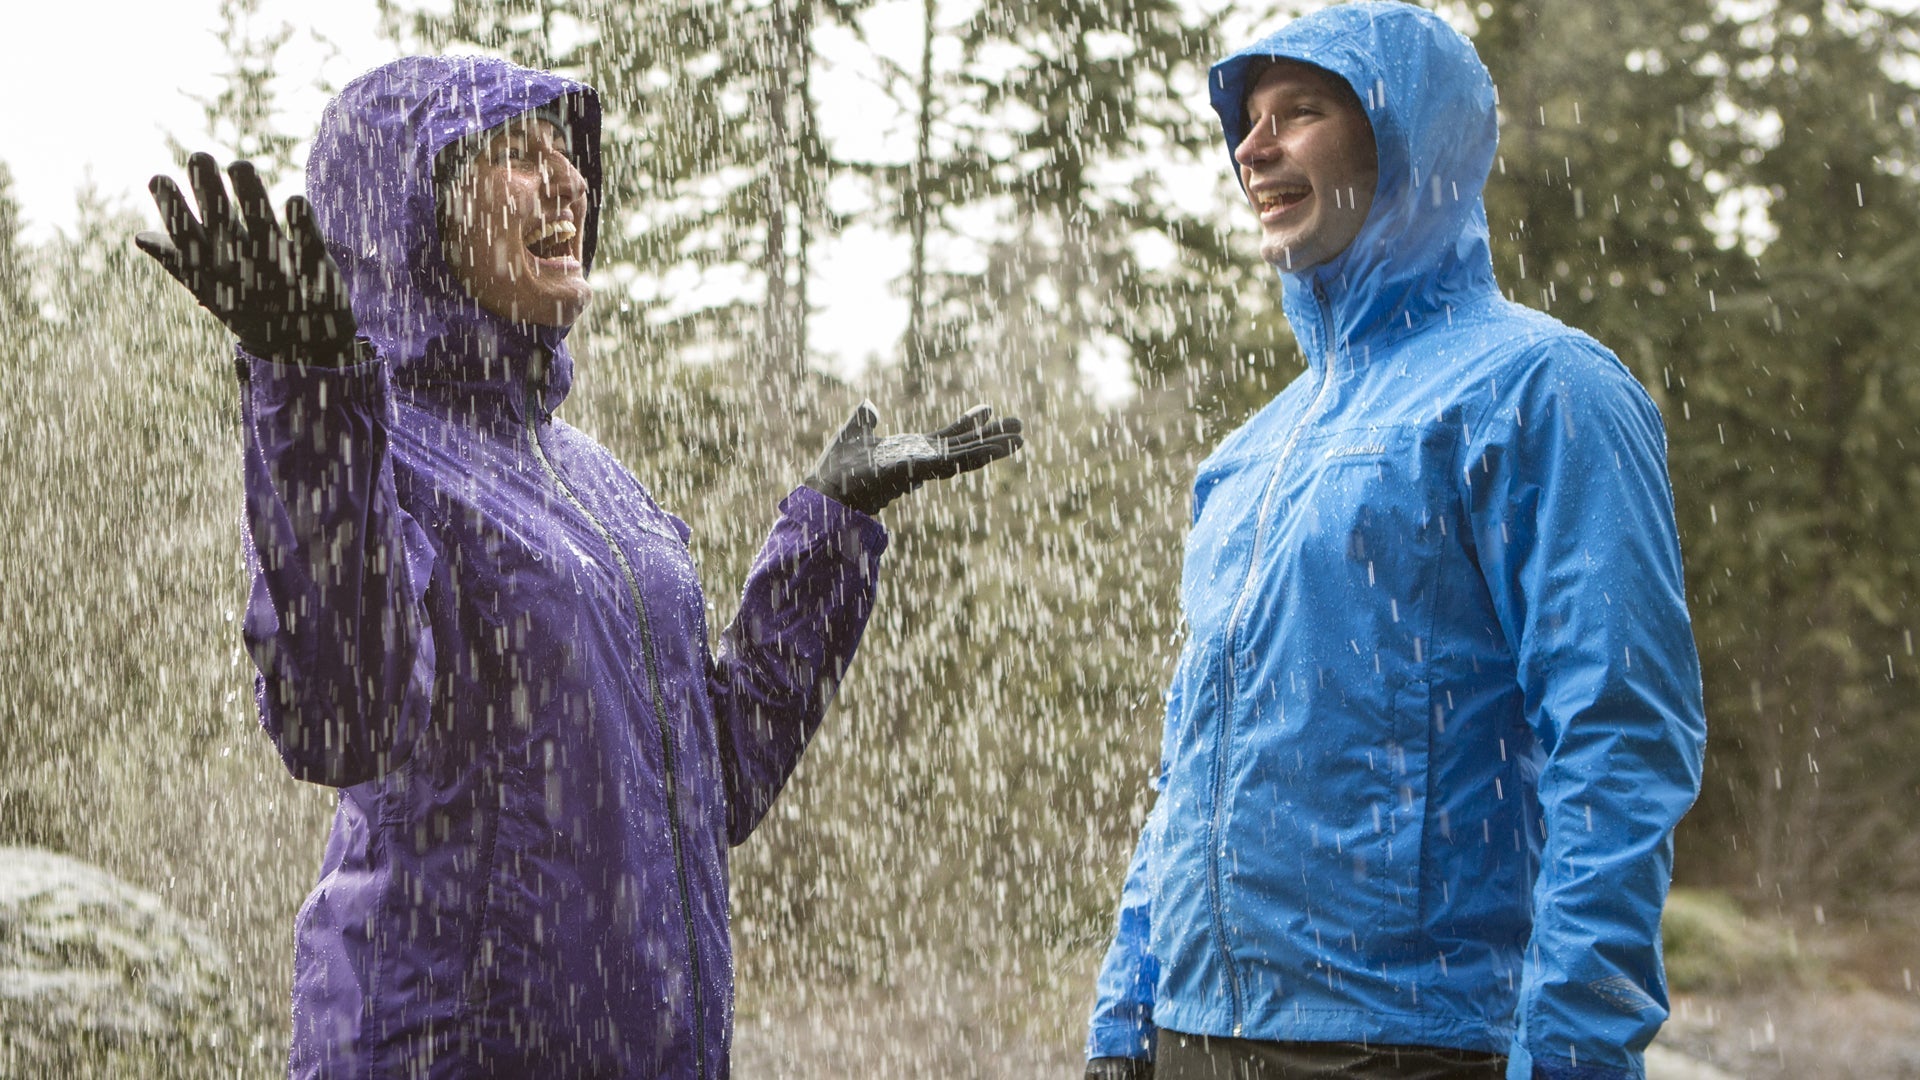
Weather Protection
Rain in NZ's back-country can arrive within minutes and persist for days. A quality waterproof jacket is essential kit — not a compromise piece that's technically waterproof on a showery day but soaks through after an hour in sustained rain.
The Peak XV Tornado rain jacket provides 20,000mm hydrostatic head rating — the standard required for sustained NZ conditions. It's a proper waterproof shell, not a water-resistant softshell. For exposed alpine routes or winter conditions, the Peak XV Pinnacle adds additional protection. Browse the rain jacket range at Dwights.
Navigation
Phone navigation is useful but not sufficient. Phones die, screens crack, batteries drain fast in cold conditions. Carry a dedicated topographic map of your route and know how to use it. A compass is lightweight and doesn't require batteries. On tracked routes, a GPS device provides reliable backup navigation — particularly useful in poor visibility.
For solo trampers: practice navigation skills before you need them. Don't rely on your phone as your primary navigation in back-country terrain.
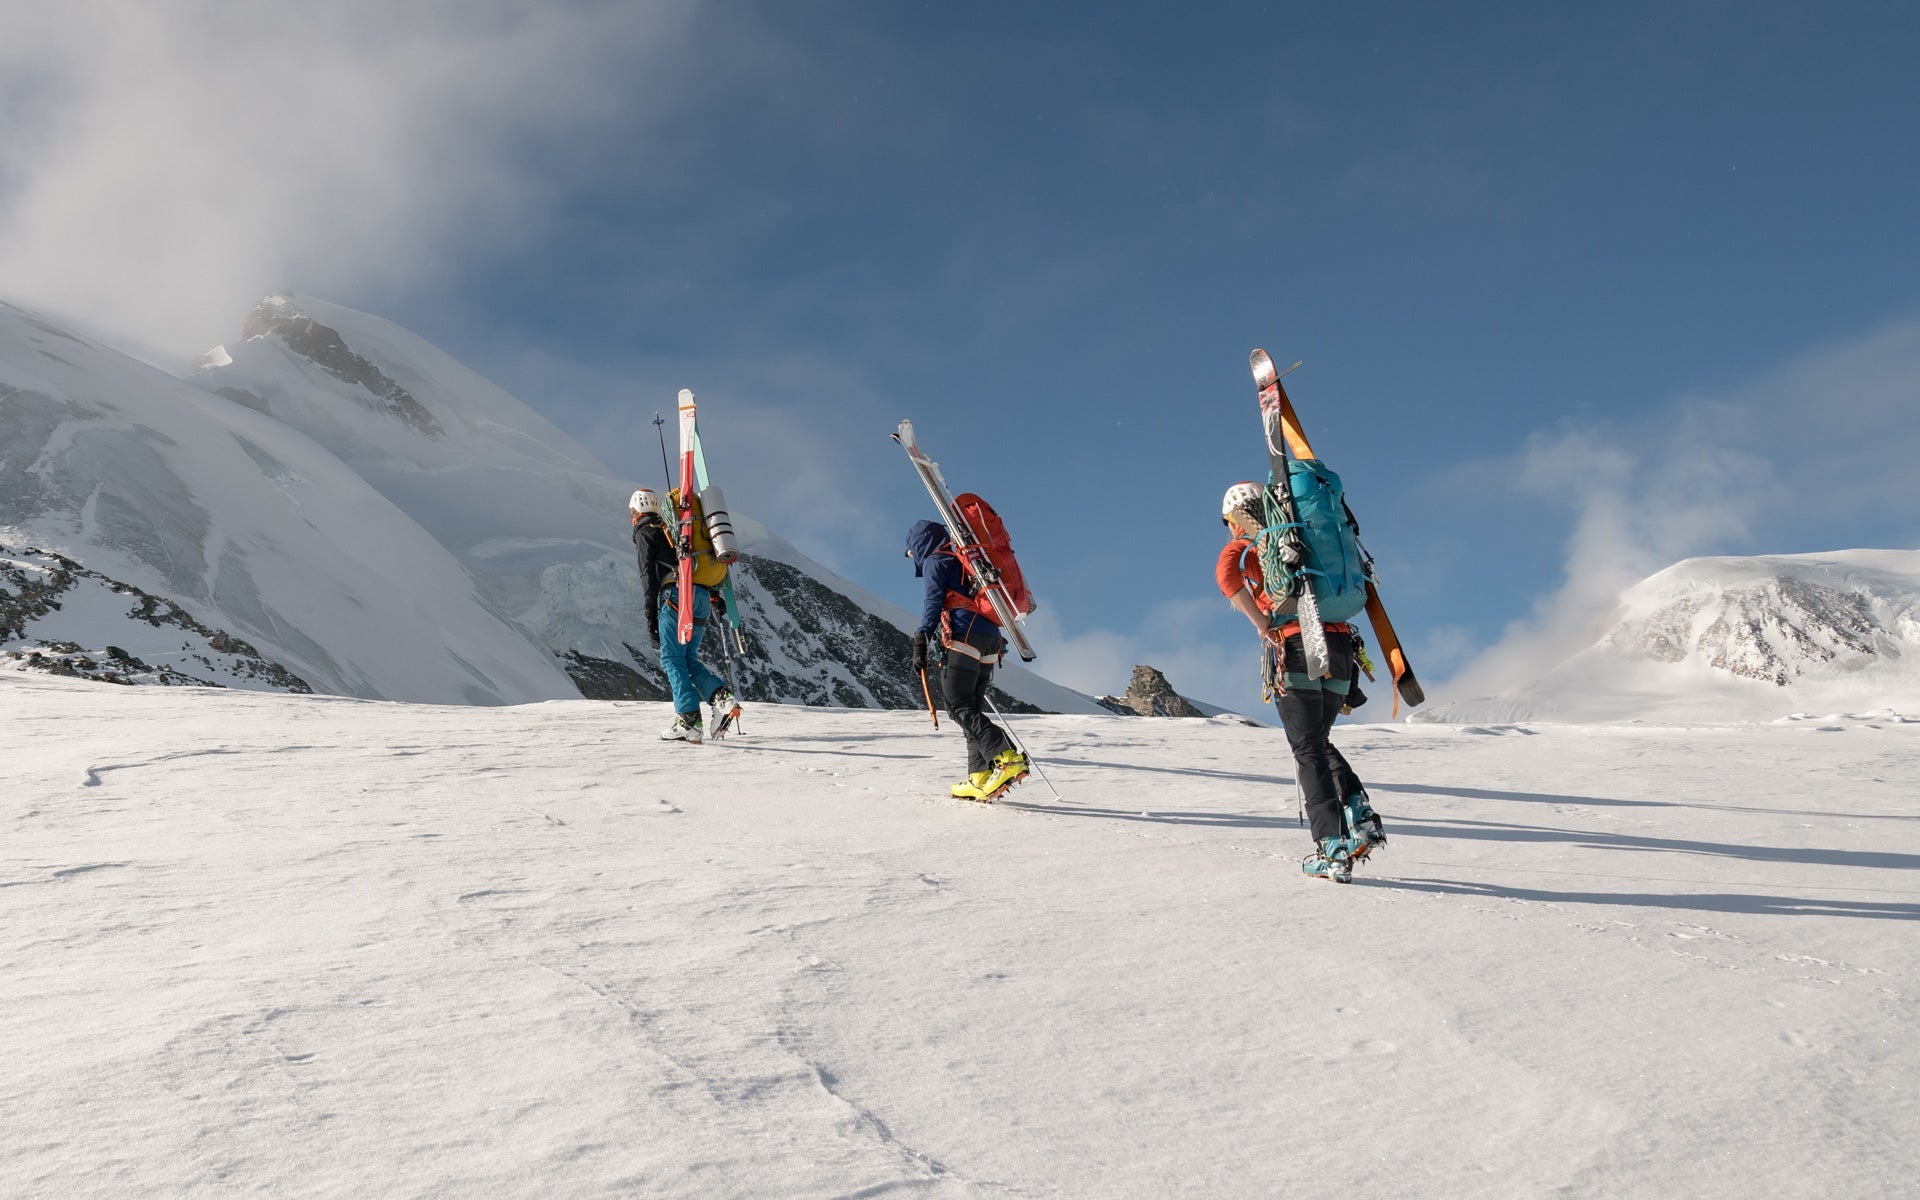
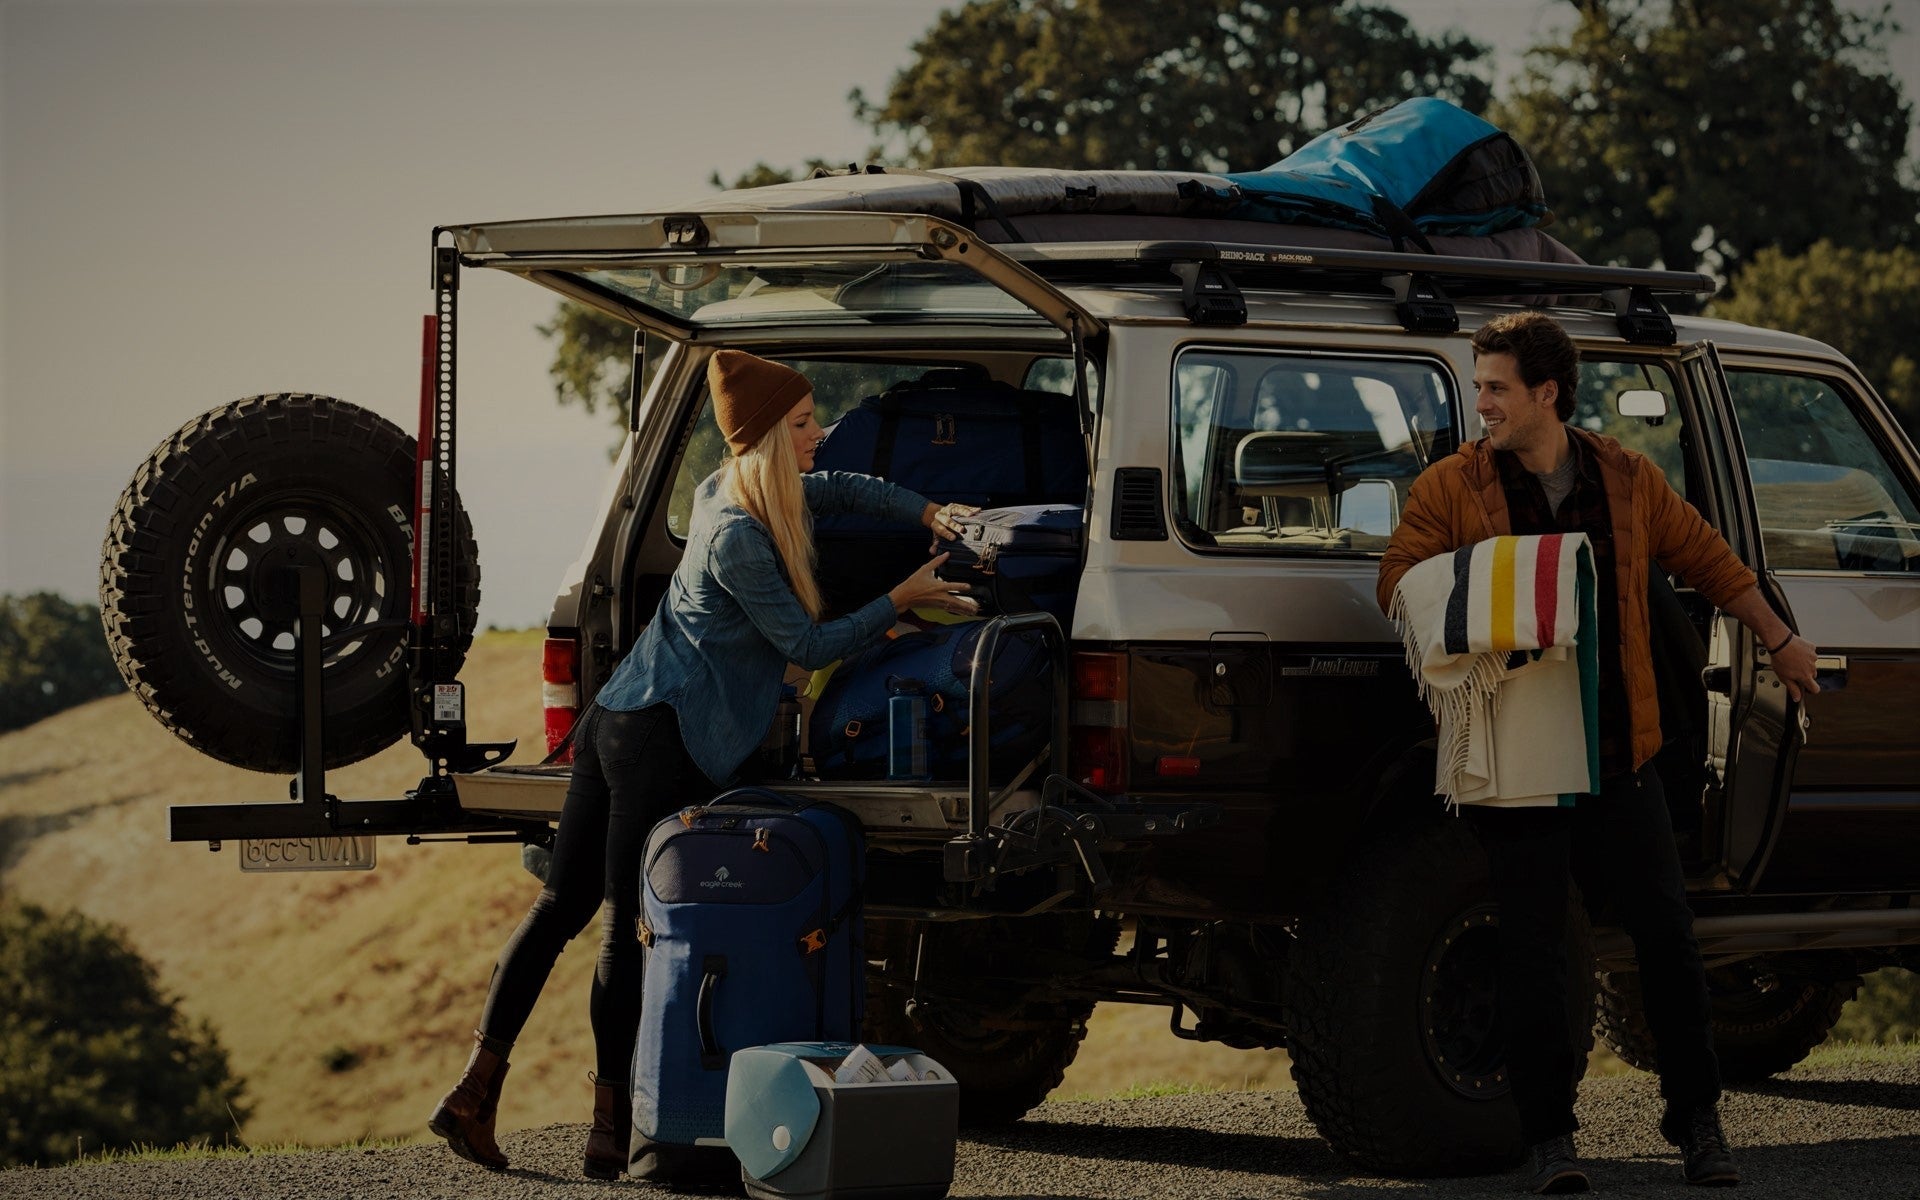
Lightweight Pack Considerations for Solo
Going solo means you carry everything yourself with no weight sharing. This makes pack weight more important than it is in a group — there's no one to take some of your tent poles or share the stove.
Pack Choice
A Deuter pack fitted correctly to your torso length and hip width reduces fatigue significantly on multi-day trips. Deuter's suspension systems are engineered for load transfer — on a solo trip where you're carrying everything, this matters more than when you're splitting weight across four people. Browse tramping packs at Dwights.
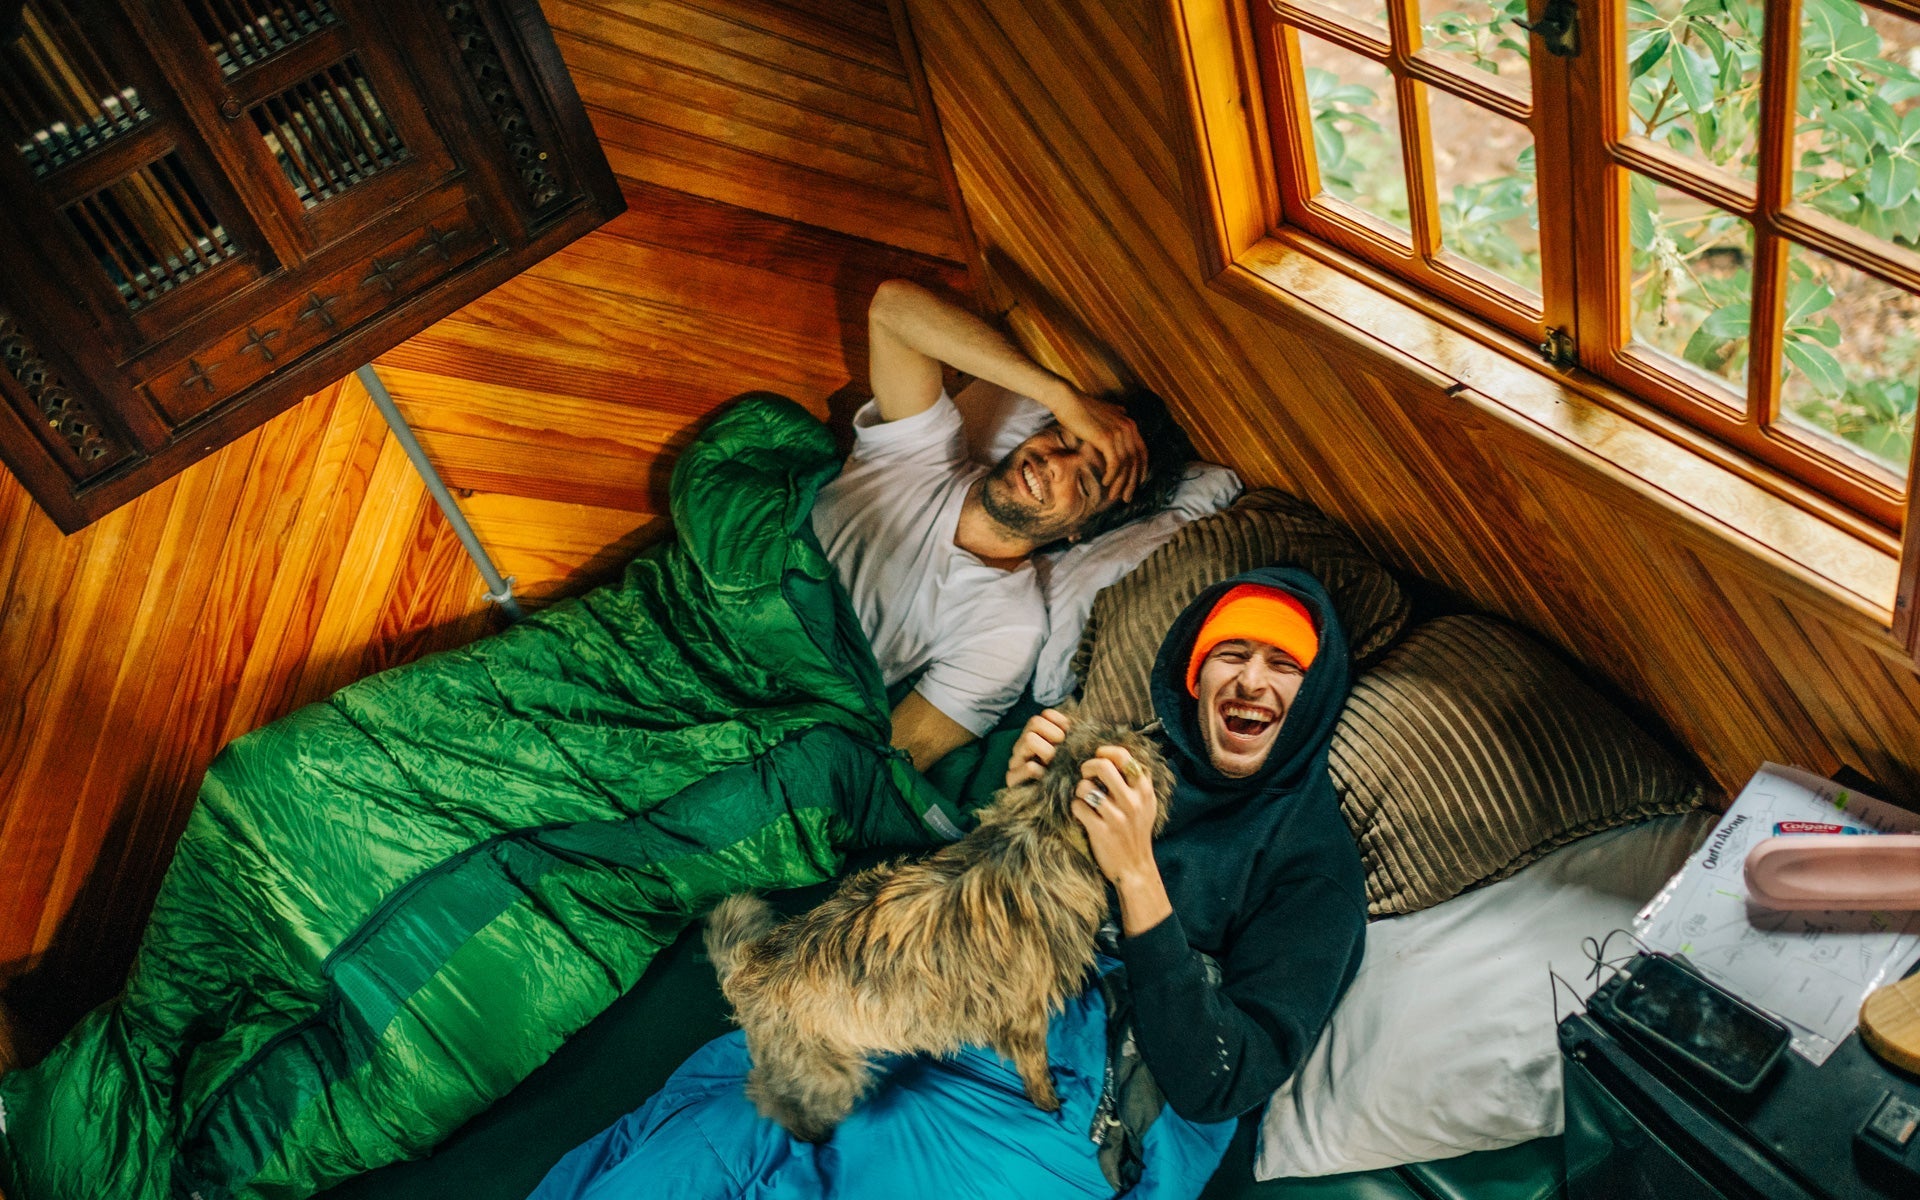
Sleeping Bag
Ultralight sleeping bags pay dividends when you're carrying solo. The One Planet Nitrous series starts at 475g for the +2°C rating — genuinely ultralight performance for summer or mild shoulder-season tramping. For shoulder seasons and colder huts, the One Planet Sonder series provides more temperature coverage, starting at 655g for the -3°C version, with the flat-open zipper that's particularly useful for variable hut temperatures.
Browse the sleeping bag range to compare options by weight and temperature rating.
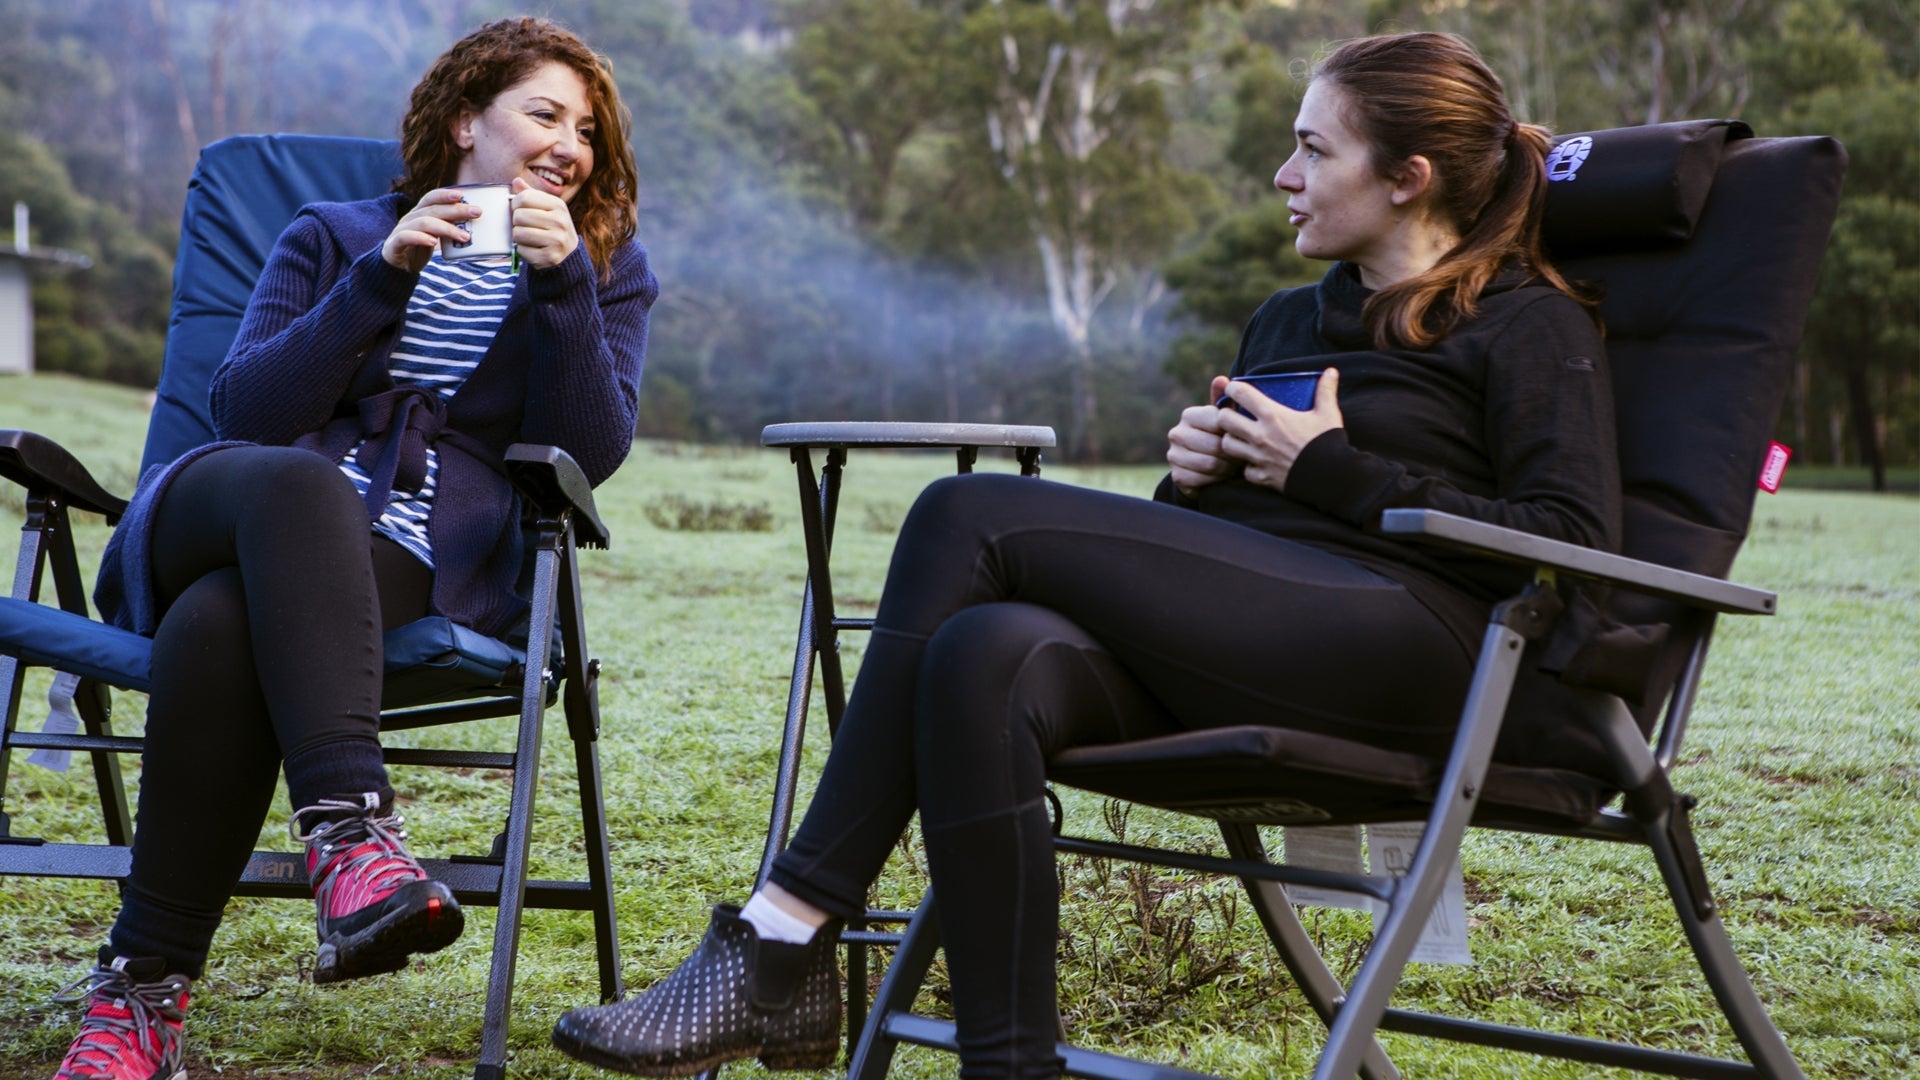
Mental Preparation for Solo Tramping
Solo tramping is mentally demanding in ways that group trips aren't. Navigation decisions, weather calls, and risk assessments all land on you alone. There's no one to double-check a compass bearing or reassure you that the river looks crossable.
A few principles that experienced solo trampers develop:
- Trust conservative instincts. If something feels wrong — weather building, a river looking high, a route unmarked where it should be — the cost of turning back is a shorter trip. The cost of ignoring the instinct can be much higher.
- Make decisions early. Don't wait until you're committed to a crossing to decide whether it's safe. Assess and decide from distance, before you're at the water's edge.
- Communicate your position. Check in with hut books, talk to hut wardens, update your intentions if your route changes.
- Know your limits and current fitness. Solo tramping is not the place to find out what your limits are for the first time.
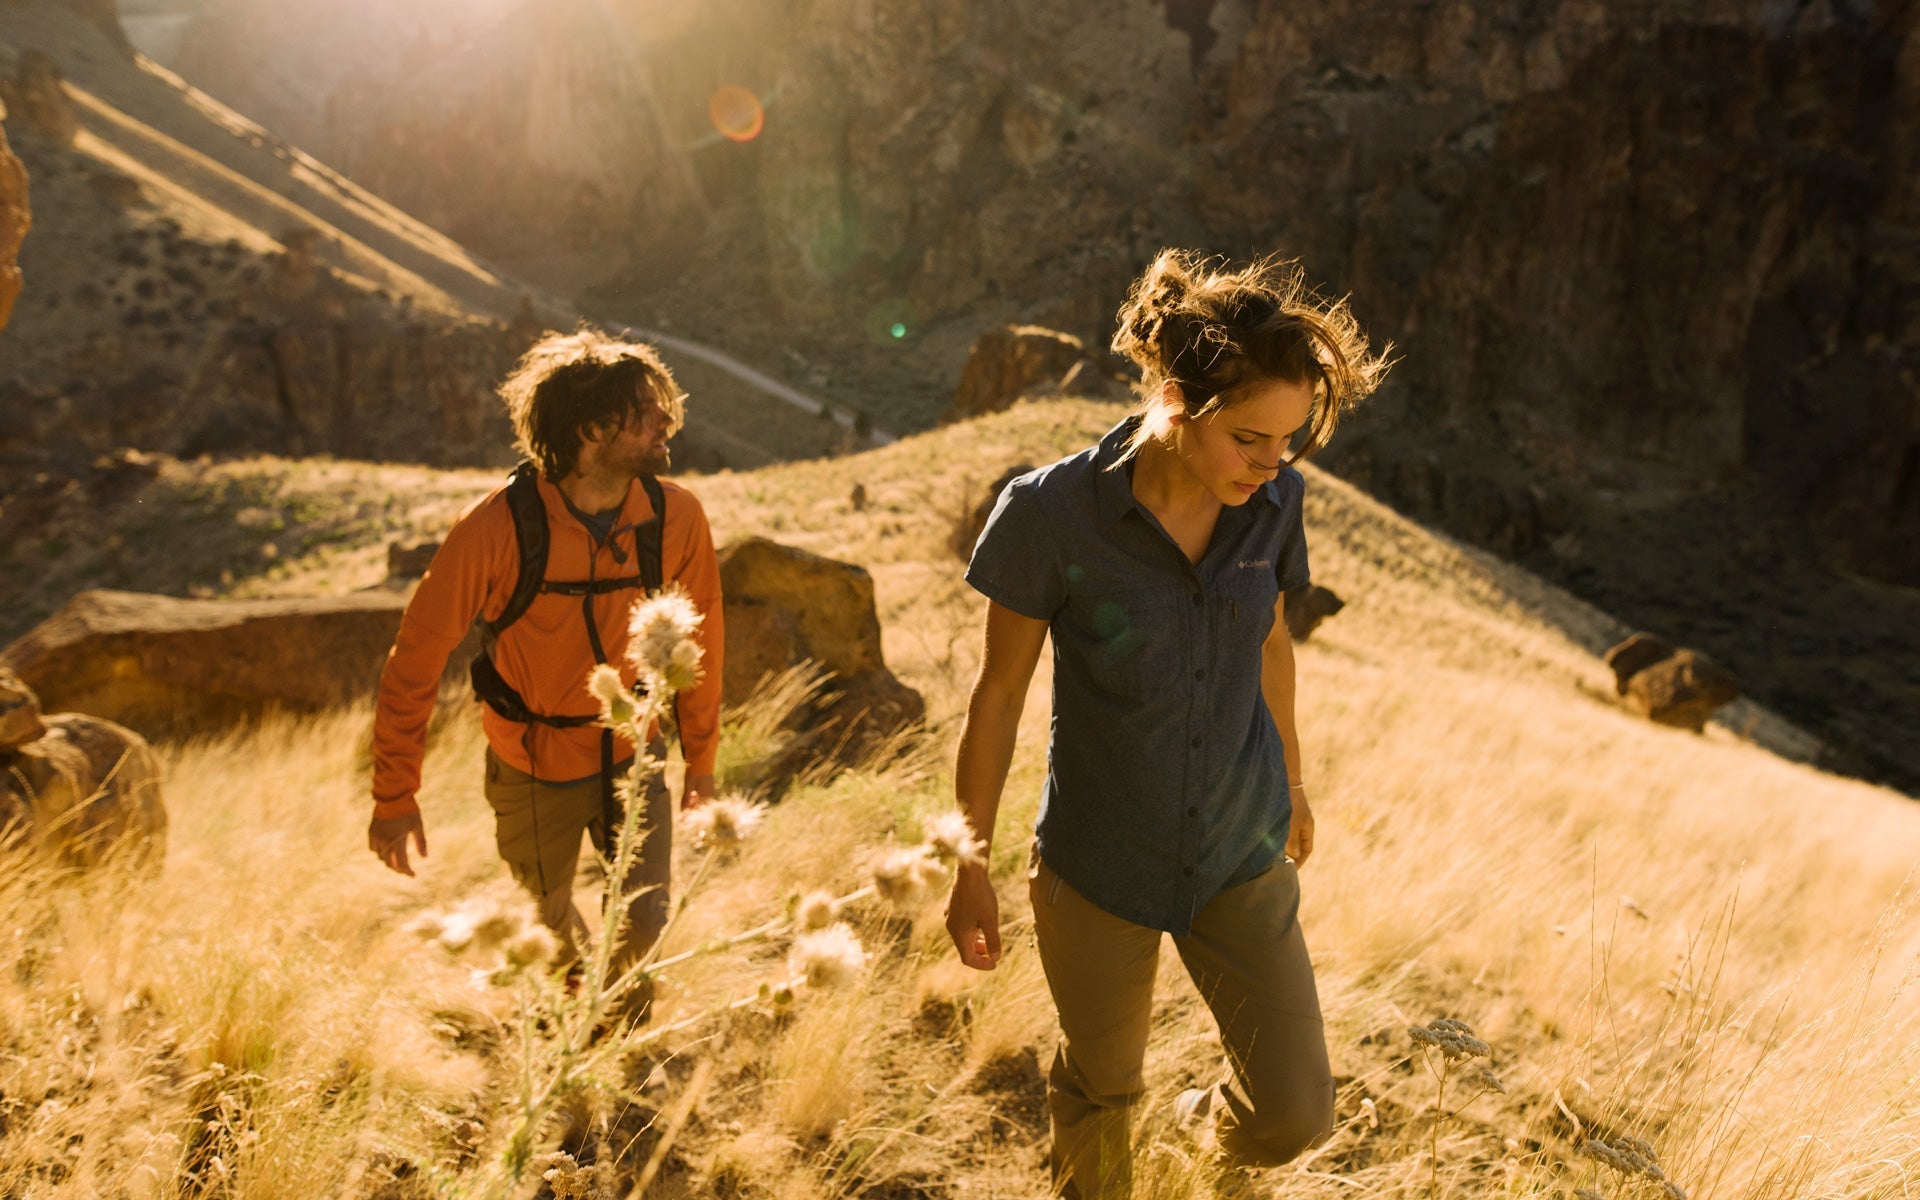
Recommended Tracks for Solo Tramping Beginners
If you're new to solo tramping, start on well-tracked, well-hut-ted routes with reliable communications and regular traffic. NZ has excellent options:
- Tongariro Alpine Crossing (day trip): Well-marked, regularly trafficked, good base for building solo day-trip confidence before overnight trips.
- Lake Waikaremoana Great Walk: Well-serviced huts, clear track, moderate terrain. Good first multi-day solo trip.
- Abel Tasman Coast Track: Low altitude, clear tracks, well-spaced huts. Weather is milder than alpine tracks.
- Kepler Track: Well-maintained, clear hut system, good DOC presence. More exposed than Abel Tasman but still a manageable first solo alpine experience.
As your experience grows, extend into less-trafficked back-country — but build the skills and kit knowledge incrementally. For more detail on back-country safety, see our guide to tramping safety in NZ.
Conclusion
Solo tramping is one of the most rewarding forms of outdoor travel New Zealand offers. The preparation overhead is real, but it's not complicated: file your intentions, carry a PLB, know your route, and gear up appropriately for the conditions. The Ocean Signal RescueMe PLB1, a quality rain jacket, a well-fitted pack, and a lightweight sleeping bag appropriate to your season cover the fundamentals. Get those right, choose your starting routes sensibly, and solo tramping becomes a sustainable, deeply satisfying part of how you use NZ's back-country.
