


Why Pop-Up Tents are a Game-Changer for Campers in New Zealand
Why Pop-Up Tents are a Game-Changer for Campers in New Zealand
Hey there, fellow adventurers! Are you ready to take your camping game to the next level? Well, we've got some exciting news for you. Pop-up tents are here to revolutionize the way you camp in beautiful New Zealand. These nifty little wonders are about to become your favorite camping companion - and we're about to tell you why!
In this blog post, we'll dive deep into the world of pop-up tents and explore all their amazing benefits. From easy setup and portability to durability and versatility, these tents have it all. So grab a cuppa, sit back, and get ready to discover why pop-up tents are an absolute game-changer for campers like yourself in Aotearoa.
But before we delve into that, let's clarify what exactly makes a pop-up tent so special. Essentially, these ingenious creations eliminate all the hassle of traditional tent pitching while providing comfort and convenience on your outdoor escapades. Sounds pretty awesome already, right? Well then, let's jump right in!
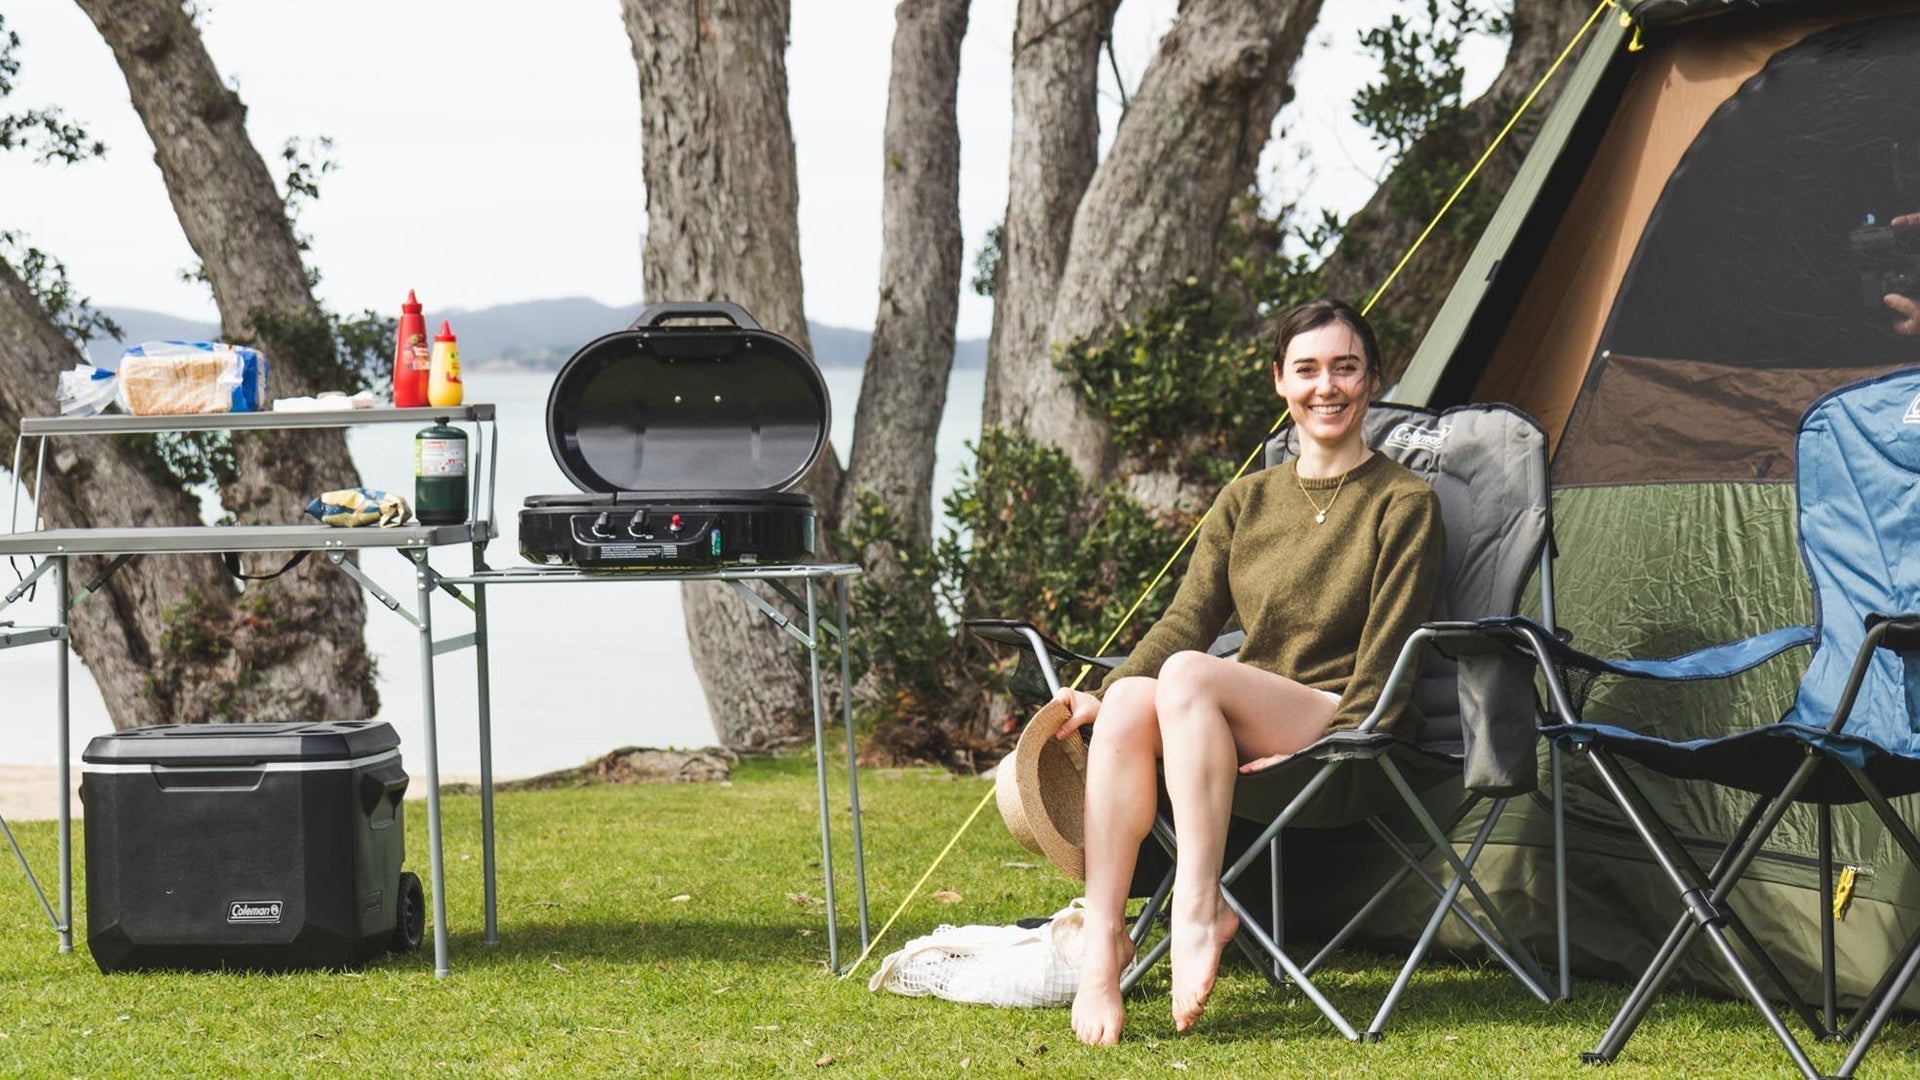
The Benefits of Pop-Up Tents
Easy and Quick Set-Up: One of the biggest advantages of pop-up tents is their lightning-fast set-up time. No more struggling with poles and instructions that seem to be written in a foreign language. With just a flick of your wrist, these tents magically pop into shape, saving you precious time and energy. So whether you're arriving at your campsite late in the evening or simply want to spend more time enjoying nature, a pop-up tent has got your back!
Lightweight and Portable: Another fantastic perk is how lightweight and portable these tents are. Gone are the days of lugging around heavy gear on your camping trips. Pop-up tents are designed to be compact and easy to carry, making them ideal for backpackers or those who love exploring off-the-beaten-path locations.
Space-Saving: If you've ever struggled with limited storage space in your car or backpack, then you'll appreciate this benefit - pop-up tents are incredibly space-saving! When packed away, they take up minimal room, leaving plenty of space for all your other camping essentials like food supplies or hiking gear.
Durability and Quality: Don't let their convenience fool you - pop-up tents are built to last. Made from durable materials that can withstand most weather conditions, these little wonders will keep you protected from rain showers and most winds during your outdoor adventures.
Versatility: Whether you're planning a solo trip or going camping with family and friends, there's a pop-up tent for every occasion. They come in different sizes ranging from cozy one-person shelters to spacious multi-room options. So no matter how many people you're traveling with, everyone can have their own comfortable sleeping space.
Now that we've explored some key benefits of using pop-up tents while camping in New Zealand let's move on to discussing the factors to consider when choosing one that suits your needs perfectly! But first... breathe out and bask in the wonder of these incredible tents. They truly are a game
Easy and Quick Set-Up
Setting up a tent can sometimes be a real hassle, especially after a long day of hiking or exploring. That's where pop-up tents come in and save the day! One of the biggest benefits of pop-up tents is their easy and quick set-up process.
Gone are the days of struggling with poles and instructions that seem to be written in another language. With a pop-up tent, all you need to do is remove it from its carry bag, give it a gentle shake, and watch as it magically unfolds into shape!
The genius design of these tents allows them to self-expand, taking away any stress or frustration associated with traditional tent setup. In just minutes, your cozy campsite will be ready for you to relax in.
Not only does this make setting up camp quicker than ever before, but it also means more time for you to enjoy the great outdoors. No more wasting precious daylight hours struggling with complicated tent assembly – now you can spend that time roasting marshmallows by the fire or exploring picturesque trails.
Whether you're an experienced camper looking for convenience or a beginner wanting an effortless camping experience, pop-up tents are truly game-changers when it comes to easy and quick set-up. Say goodbye to tedious tent assembly and hello to hassle-free camping adventures!
Lightweight and Portable
One of the biggest advantages of pop-up tents is their lightweight and portable nature. When you're out camping, it's essential to have gear that won't weigh you down or take up unnecessary space in your backpack or car.
Pop-up tents are specifically designed to be compact and easy to carry. They are made from lightweight materials like polyester or nylon, which not only reduces the overall weight but also makes them highly packable. You can easily fold them up into a small carrying bag that can fit snugly into your backpack or trunk.
This portability is especially beneficial for campers who enjoy exploring different campsites during their trip. With a pop-up tent, you can effortlessly move from one location to another without feeling burdened by heavy equipment. It allows for greater flexibility and freedom in planning your camping adventures.
Additionally, the lightweight nature of pop-up tents makes them ideal for hikers and backpackers who need to minimize the weight they carry on long treks. Every ounce counts when you're hitting the trails, and having a lightweight tent means more energy saved for enjoying the great outdoors.
Choosing a pop-up tent that offers both quality construction and portability will greatly enhance your camping experience while keeping things convenient and hassle-free.
Space-Saving
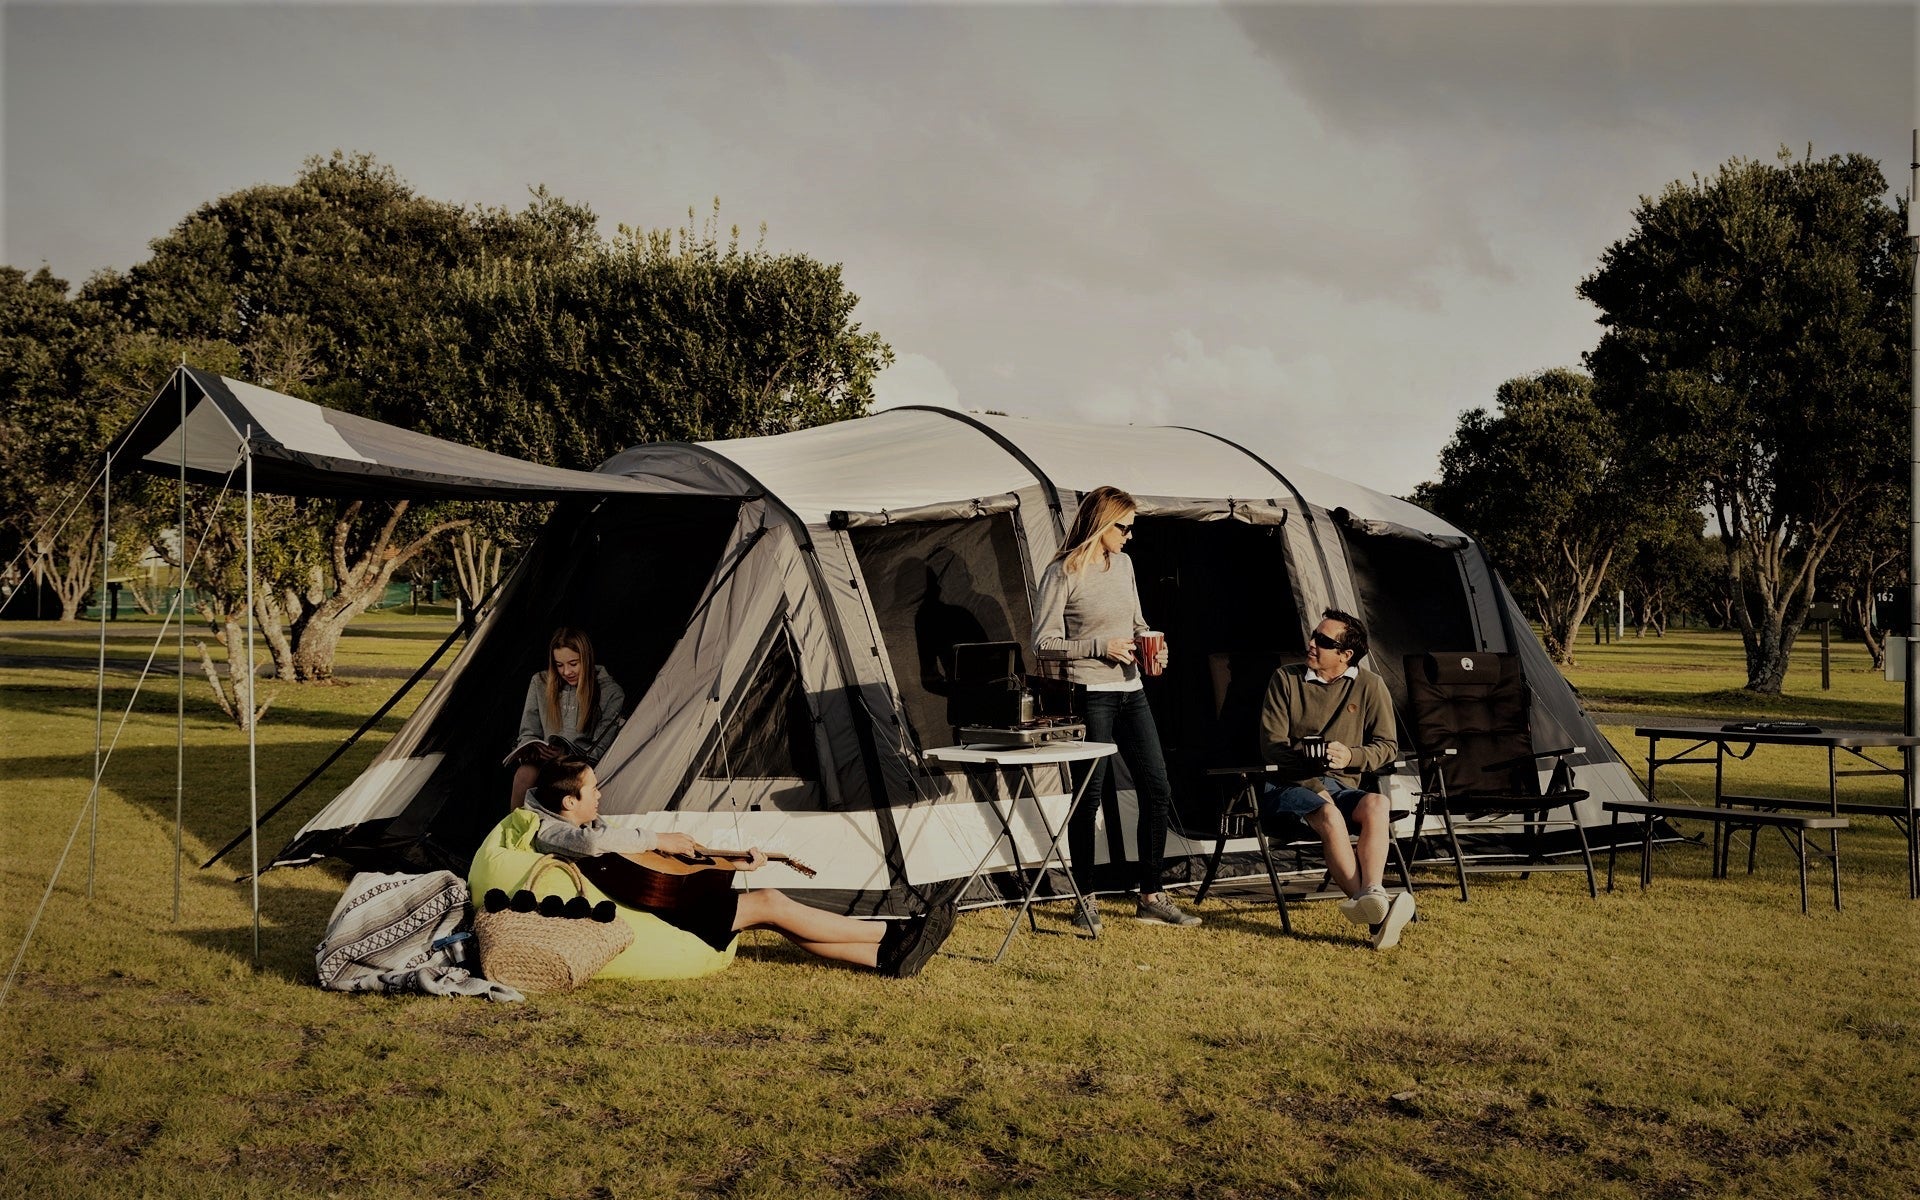
When it comes to camping, one of the biggest challenges is packing all the necessary gear into a limited amount of space. That's where pop-up tents really shine! One major benefit of these tents is their space-saving design.
Pop-up tents are compact and fold down into a small carrying bag, making them incredibly easy to transport. Whether you're backpacking through the wilderness or heading to a crowded campground, having a tent that doesn't take up much room in your vehicle or on your back is a game-changer.
Not only do pop-up tents save space during transportation, but they also maximize the available space at your campsite. These tents come in various sizes and shapes to accommodate different camping needs. So whether you're camping alone or with friends and family, you can find a pop-up tent that fits perfectly within your allocated campsite area.
Additionally, many pop-up tents feature clever storage solutions such as built-in pockets and gear lofts. This allows you to keep your belongings organized and off the ground, creating even more usable living space inside the tent.
So if you're tired of dealing with bulky traditional tents that take up too much room in your car or require excessive time for assembly, it's time to consider investing in a pop-up tent. With their compact size and efficient use of space both during transportation and on-site, these versatile shelters are sure to enhance every camper's experience!
Durability and Quality of Pop-Up Tents
When it comes to camping in New Zealand, having a durable and high-quality tent is essential. This is where pop-up tents truly shine! These innovative tents are designed to withstand the elements, ensuring that your camping experience is comfortable and secure.
One of the key features of pop-up tents is their durability. Made from sturdy materials such as waterproof polyester or nylon, these tents can withstand rain, wind, and even UV rays. The seams are often reinforced for added strength, preventing any water leakage during heavy downpours.
Not only are pop-up tents built to last, but they also offer excellent quality. Many brands prioritize craftsmanship and use top-notch materials in their construction. From strong poles to reliable zippers, every component is carefully chosen to ensure longevity.
Another benefit of pop-up tents' durability and quality is their ability to handle rough terrains. Whether you're camping on rocky ground or sandy beaches, these tents can handle it all without losing shape or stability.
Investing in a durable and high-quality pop-up tent means you won't have to worry about frequent repairs or replacements. You can focus on enjoying your outdoor adventure with peace of mind knowing that your shelter will hold up throughout your trip.
So if you're planning a camping trip in New Zealand's beautiful wilderness, consider getting yourself a pop-up tent that offers both durability and exceptional quality - because when Mother Nature throws her worst at you, you'll be glad you made this wise choice!
Versatility of Pop-Up Tents
Versatility is a key feature that sets pop-up tents apart from traditional camping tents. These innovative shelters are designed to adapt to various camping situations, making them a must-have for outdoor enthusiasts in New Zealand.
One of the biggest advantages of pop-up tents is their ability to be used in different locations and terrains. Whether you're heading to the beach, going on a hiking trip, or attending a music festival, these tents can easily accommodate your needs. They are lightweight and compact, making transportation hassle-free.
Furthermore, pop-up tents come in different sizes and configurations. Some models have multiple rooms or removable partitions, allowing for privacy and flexibility when camping with friends or family. Additionally, many pop-up tents have built-in features like vestibules for extra storage space or awnings for shade during sunny days.
Another great thing about these versatile shelters is their quick assembly and disassembly process. With just a few simple steps, you can set up your tent within minutes - no more struggling with complicated poles or instructions!
Factors to Consider When Choosing a Pop-Up Tent
When it comes to choosing a pop-up tent, there are a few factors you need to consider. First and foremost, size and capacity are important. You want to make sure the tent is spacious enough for you and your camping companions, but not so large that it becomes cumbersome to set up or transport.
Another crucial factor is weather resistance. New Zealand's unpredictable weather can be challenging, so you'll want a pop-up tent that can withstand rain, wind, and even the occasional snowfall. Look for tents with waterproof materials and sturdy construction.
Ventilation and breathability are also key considerations. Nobody wants to wake up feeling stuffy in their tent! Look for tents with mesh windows or vents that allow for airflow while keeping bugs out.
Durability is another factor worth considering. A well-made pop-up tent should be able to withstand regular use without showing signs of wear and tear too quickly.
Don't forget about convenience features like pockets or hooks inside the tent for storing personal items. These small details can make a big difference when it comes to comfort during your camping trip.
By carefully considering these factors when choosing a pop-up tent, you'll ensure that your camping experience in New Zealand will be comfortable, enjoyable, and stress-free!
Size and Capacity
When it comes to choosing a pop-up tent, one important factor to consider is the size and capacity. After all, you want to make sure your tent can comfortably accommodate everyone on your camping trip!
Pop-up tents come in various sizes, ranging from small 1-person tents to larger family-sized options. The size you choose will depend on how many people will be sleeping in the tent and how much space you prefer.
For solo campers or couples, a smaller-sized pop-up tent may be sufficient. These tents are compact and lightweight, making them easy to carry and set up. They're perfect for those who prioritize mobility and don't require much extra room.
If you're planning a family camping trip or going with a group of friends, opting for a larger-sized pop-up tent is advisable. These tents offer ample space for multiple sleeping bags or air mattresses, along with some additional storage area for gear.
It's worth noting that when considering size and capacity, also pay attention to the peak height of the tent. Taller individuals may prefer a tent with higher headroom for added comfort while moving around inside.
Remember that it's always better to have more space than not enough! So take into account the number of occupants as well as any gear or equipment that needs shelter when selecting the appropriate size and capacity of your pop-up tent.
Weather Resistance
When it comes to camping, one of the most important factors to consider is weather resistance. After all, nobody wants to wake up in the middle of a rainy night with water dripping through their tent! That's where pop-up tents really shine.
These tents are designed with weather-resistant materials that can withstand even the wettest conditions. They are made with waterproof fabrics and sealed seams, ensuring that you stay dry even during a heavy downpour. Some pop-up tents also come equipped with built-in rainflies or vestibules for extra protection against wind and rain.
Not only do these tents keep you dry, but they also provide excellent ventilation. Many pop-up tents feature mesh panels or windows that allow for airflow while keeping out bugs and pests. This is especially important during hot summer months when temperatures can soar inside traditional tents.
Whether you're camping in New Zealand's unpredictable weather or embarking on an outdoor adventure elsewhere, having a weather-resistant pop-up tent will give you peace of mind knowing that your shelter is ready to take on whatever Mother Nature throws at it!
So when searching for your next camping tent, don't forget to prioritize weather resistance. Your comfort and safety depend on it!
Ventilation and Breathability
When it comes to camping, a key factor to consider is the ventilation and breathability of your tent. You don't want to be stuck in a stuffy and humid space, especially during those hot summer nights. That's where pop-up tents come in handy!
One of the great things about pop-up tents is that they are designed with ventilation in mind. Many models feature mesh windows or vents that allow for airflow while keeping pesky bugs out. This means you can enjoy a cool breeze without worrying about getting bitten by mosquitoes.
The breathability of pop-up tents also ensures that moisture doesn't get trapped inside. This is important because condensation can build up overnight, leading to dampness and discomfort. With proper ventilation, you can wake up feeling refreshed and ready for another day of adventure.
Additionally, some pop-up tents even offer adjustable ventilation options. This allows you to control the amount of airflow based on your preferences and the weather conditions outside. Whether you prefer maximum airflow on a hot day or just a gentle breeze at night, there's a pop-up tent out there for you.
So when shopping for your next camping tent, be sure to prioritize ventilation and breathability features. Your comfort and enjoyment during outdoor adventures will greatly depend on it!
Dwight's
Dwight's is a renowned brand in the camping industry, known for our high-quality and reliable pop-up tents. With their commitment to innovation and durability, Dwight's has become a game-changer for campers in New Zealand.
One of the standout features of Dwight's pop-up tents is their easy and quick set-up. Gone are the days of struggling with complicated tent poles and instructions. With just a few simple steps, you can have your Dwight's tent up and ready to go in no time! This means more time enjoying your camping trip and less time wasted on setting up camp.
Another reason why Dwight's is so popular among campers is its lightweight and portable design. These tents are designed with convenience in mind, making them perfect for backpacking or road trips. You can easily pack them into your car trunk or carry them on your back without feeling weighed down.
Space-saving is another advantage that sets Dwight's apart from other brands. Their pop-up tents are designed to maximize space while still providing ample room for sleeping bags, gear, and even a small table or chairs inside. This means you don't have to sacrifice comfort or storage options when using a Dwight's tent.
When it comes to durability and quality, Dwight's excels once again. These tents are made from high-quality materials that can withstand various weather conditions like rain, wind, and even harsh UV rays. You can trust that your Dwight's tent will provide reliable protection during your camping adventures.
Conclusion
In a nutshell, pop-up tents are undoubtedly a game-changer for campers in New Zealand. Their easy and quick set-up, lightweight and portable design, as well as space-saving capabilities, make them an ideal choice for any outdoor enthusiast.
Not only are these tents convenient to use, but they also offer durability and quality that can withstand the unpredictable weather conditions of New Zealand. Investing in a high-quality pop-up tent ensures that you'll have a reliable shelter during your camping adventures.
The versatility of pop-up tents is another major advantage. They come in various sizes and designs to cater to different needs and preferences. Whether you're embarking on a solo camping trip or going with a group of friends or family members, there's a pop-up tent out there that will suit your requirements perfectly.
When choosing the right pop-up tent for your camping escapades, consider factors such as size and capacity to ensure everyone has enough room to sleep comfortably. Look for tents with excellent weather resistance features like waterproof materials and sturdy construction to protect you from rain or strong winds.
Ventilation and breathability are also crucial aspects to keep in mind when selecting a pop-up tent. Opt for models with mesh windows or vents to allow proper air circulation inside the tent while keeping insects at bay.
Don't forget about Dwight's! This fictional character may not exist outside "The Office," but his wisdom on selecting the perfect workspace applies equally well when it comes to choosing the right camping gear – including your trusty pop-up tent!
So next time you plan an exciting outdoor adventure in beautiful New Zealand, consider investing in a top-notch pop-up tent. With their convenience, durability, versatility, and numerous other benefits discussed above (and no annoying repetitive punctuation!), these innovative shelters will surely enhance your camping experience like never before!
Happy Camping!
Frequently Asked Questions
What is a pop-up tent?
A pop-up tent uses a spring-loaded frame that deploys automatically when released from its carry bag — it's pitched in seconds without any assembly. They're best suited to festivals, beach day trips, and very short stays where convenience is the priority.
Are pop-up tents waterproof?
Most pop-up tents offer basic water resistance, suitable for light rain. They're generally not as waterproof as purpose-built camping tents. For overnight camping in NZ conditions, a quality dome or tunnel tent is more reliable.
Can I use a pop-up tent for overnight camping?
Pop-up tents can be used for overnight camping in mild, settled conditions. For NZ camping where weather can change quickly, a traditional camping tent with properly taped seams and a full fly is the more reliable choice for multi-night stays.
How do you fold a pop-up tent back down?
Folding a pop-up tent requires a specific technique — most use a figure-eight fold to compress the spring frame back into a flat circle. Practice this before your trip, as it's often the most challenging part of using a pop-up tent.
Are pop-up tents good for families?
For beach trips, festivals, and casual daytime use, pop-up tents are convenient for families. For multi-night family camping trips, a larger inflatable or instant-up tent offers more space and better weather protection.
Where can I buy pop-up tents in NZ?
Dwights stocks instant-pitch tent options suited to NZ camping. Browse at /collections/tents.